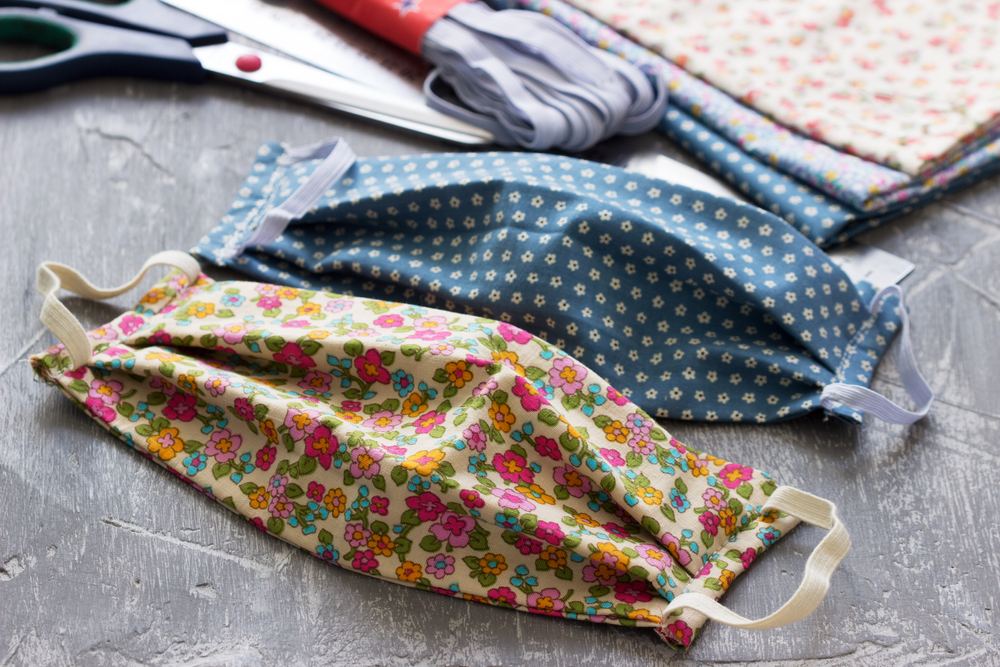
I must say, the past few months have been an unpredictable time. As social distancing guidelines are beginning to shift, a ‘new normal’ has defined itself in American culture, and safety among everyone is a necessity. Throughout most of the country, a new precedent has emerged, and wearing masks almost everywhere in public is an absolute must. Stores are empty, and finding a way to make use of what we have in our home is essential.
I have been researching tutorials on how to make a face mask at home using old clothes and different supplies I have in my house, but It can be tough to find the right tutorial that doesn’t require a sewing machine. At times like this, I wish I paid closer attention to my teachers in home economics. After countless hours on the web, I FINALLY found some simple solutions that do not require sewing skills. Both face mask methods highlighted below have been recommended by the Center for Disease Control and Prevention (CDC) and require little to no sewing or fashion design skills (thankfully). According to the CDC, these simple to make masks have been deemed as excellent options. Looking at two alternate options, we can honestly say that we are turning rags into riches.
We would love to connect with you. Share your face mask design with us on social by using the hashtag #SharpHome on Instagram, Facebook, and Twitter and tagging @SharpHomeUSA.
A Chance to Repurpose Unworn Clothes
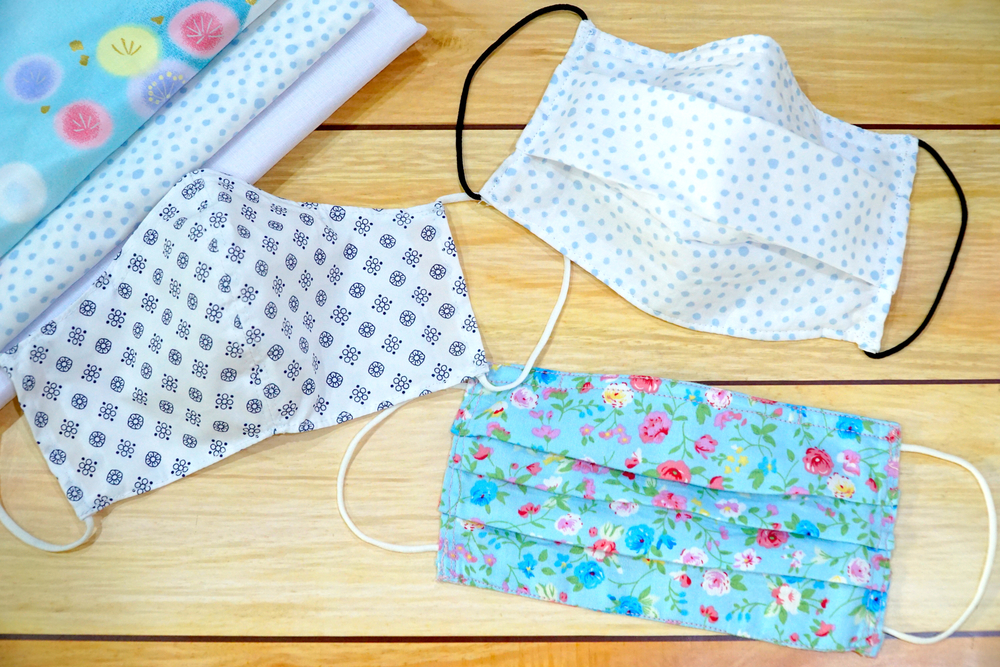
In the reality of this new world, face masks are hard to come by. Finding a way to be sustainable, and using your resources wisely is a great way to solve the ongoing issue while tapping into your creative side. Items such as your old clothes that have been sitting in the back of your closet will help serve as the perfect protective gear during these times. I know I have some old oversized college t-shirts that I have been convincing myself I would clean out one day, I am going to grab those first.
This is your chance to add a personal touch to the mask, using clothes with different designs or logos, creating a new and unique sense of fashion. People have been seen rocking their DIY facemasks using clothing with sentimental value or using their favorite brands if you can pull off a mask that also delivers a fashion statement, kudos to you!
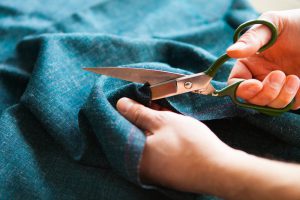
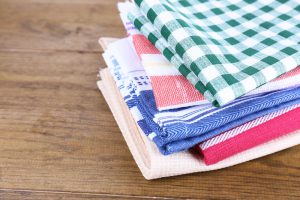
To begin the first design, cut approximately 7-8 inches off the bottom of the shirt or cotton article of clothing you choose.
One side will serve the protective covering, and the other will be used as stings to support the cover on your face.
To make the strings, cut out a smaller 6-inch rectangle within the bottom of the shirt. One side should look like a solid rectangle, where the other side should look like a rectangle was cut out. The top and bottom of this side will act as strings.
For personal adjustment, cut the strings so it can be most comfortable for you, tying them together.
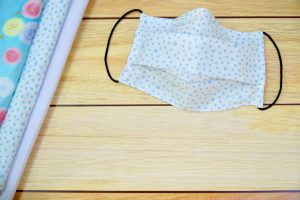
If you chose to use a solid or white piece, feel free to create your design using paint or markers. Whether it be designing a picture or writing words of your choice, I am positive that you will rock it!
Bring Back the Bandana
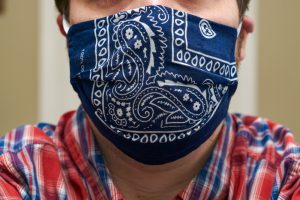
Throughout quarantine, there have been many thrifty ways and innovations created and shared on the internet. Whenever I find myself scrolling through social media, it is clear that many enact upon their entrepreneurial spirit. Even though some ways may seem logical or look fashionable, it is essential to make sure that the model you use for your protection is deemed safe.
This next method is popularly known as the bandana method. Requiring another piece of cotton and two rubber bands, the assembly can be put together in as little as a minute.
The first step is to grab an extra square bandana, or create one using a cotton article of clothing, and fold it in half. Horizontally, fold the top down and the bottom down, making it 1/3 of the size.
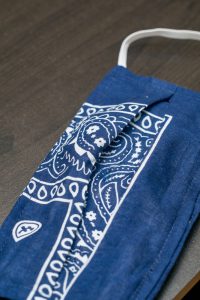
Next, take two rubber bands or hair ties for durability and place them approximately 6 inches apart from one another.
Finally, fold each side and tuck them under the bands. Place each rubber band around your ears, and well-ah!
The Beginner Option
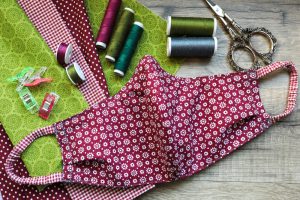

I am the first to admit that a needle and a thread is not my first go-to option; however, after finding these simple options and steps from “Valley Children’s Healthcare,” exploring the idea a bit more was not so scary. Even better, they have included methods on how to make child-size masks. Whether planning to go for a quick walk around the neighborhood or going to pick up dinner, many may benefit from this step by step instruction.
Check around your house for a lightly woven blanket or cloth (maybe even one with a design so you can pull off a specific look), and a few fabric ties. To conquer this task, get out a pair of scissors, a ruler, needles and thread, and sewing pins. Let’s get started!
First, cut the piece of fabric in a rectangular shape. In a child-size mask, follow the dimensions of 14 inches long and 6.5 inches long, and for an adult-size mask cut out a piece 16 inches long and 8.5 inches wide.
Next, take your piece of cut fabric and fold it in half and place the sides with the design on top of each other. Allowing for a 5/8-inch seam, leave a 3-inch opening in the center and sew along the 8.5-inch (or 6.5 inches for kids) edge. After that, take a piece of elastic and pin it at the top and bottom of each corner of each side. Sew them in place, backstitching for durability. Once they are in place, flip the mask right side out so that the design is now showing. Press it with an iron to tighten it up.
Finally, allowing room for flexibility, create three ½ inch pleats evenly spread across from one another. Sew them downwards so that they are facing the downward direction when wearing the masks. That’s it!
Grocery Bag 180°
Don’t worry; I did not forget about my friends who can be thrifty with a needle and thread. There are still many creative ways to make protective face coverings using everyday household goods. If using old clothes is not your style, a reusable grocery bag will do the trick. In an article published to “Popular Science,” a face mask method derived from “MakerMask“ states that there are similarities in materials between reusable grocery bags that are similar to surgical masks.
Head over to your drawer and grab your materials, including a needle and thread, scissors, an iron, safety pins, and a permanent marker. Maybe pop in a movie for some background noise, take a seat, and let’s get started.
First, grab your pair of scissors and cut out the two sides and the bottom of the bag. Remaining should be the front and back of the bag, with the handles still attached. Each side of the bags should lay flat on their own.
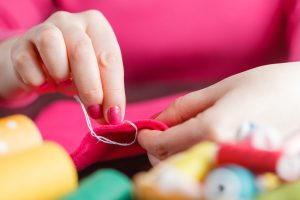
Next, you are going to pick up your ruler to measure the length and width of your bag, finding the center point. It may be a good idea to place a dot on the spot using a permanent marker. From that point to the bag handle, mark a point every 4 ½ inches. Building off those points, measure down 9 inches and draw straight lines down. After connecting and squaring off the lines at the bottom, you should have a 9×9 inch square. Make sure to follow the same step on the other piece.
Place the bag down with the old interior of the bag facing up. Go to the bottom of the bag, the side that does not have the handle, and fold ½ inch up. Set up iron on low heat to help set the surface. Once set, sew each side seam ¼ inch from the edge. Mimic on each side.
Now we are going to place the sheets together. Place one of the layers down with the handle facing the left, and the other on top of it with the handle facing the right side. Pin them both into place so that they stay together.
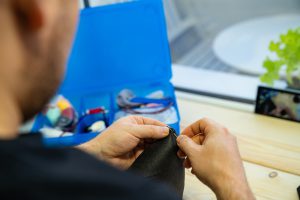
We just have a few more steps to go! It is time to make the head ties by folding the handles in half and cutting them in the center. Measure it out by placing the mask over your face. This ensures that the handles are long enough to reach the back of your head. Leave 4 inches to spare.
For durability, sew the sheets together by double threading all the edges. On the bottom side, repeat the ½ inch fold practice we discussed earlier.
This is now the time we are going to adjust the mask for you! To make a noseband, fold ½ inch from the top edge and iron press it to set it. Add in a twist tie or pipe cleaners and align them along with the mask, sewing each of them into place, evenly apart. This allows for the mask to expand.
I bet you are rocking your new masks around town while adhering to policies and procedures. Just because we are spending a bit more time at home, doesn’t mean we can’t get thrifty!
Extra Tips from the CDC
- For both options and methods, make sure that all materials are washing machine safe. To ensure safety, it is recommended to sterilize and clean the mask after each use.
- Using the grocery bag model, sterilizing the mask in boiling water for about 10 minutes, is helpful, according to Popular Science.
- Also, when placing the mask on or taking it off, the CDC asks you to refrain from touching your eyes or nose. Washing your hands immediately after touching the mask is also recommended.
Join us in practicing your safety with these innovative measures. I can’t wait to see everyone in their personalized creations, staying safe! #SharpStayAtHome

