fbpx

How to Install a Slide-in Range

Sharp oven in kitchen

Installing a slide-in range can transform your kitchen, providing a sleek, built-in look that seamlessly integrates with your countertops and cabinetry. This modern appliance not only enhances the aesthetic appeal of your cooking space but also offers improved functionality and ease of use. However, the installation process requires careful planning and attention to detail to ensure safety, proper fit, and optimal performance.

Whether you’re a seasoned DIY enthusiast or working with a professional installer, understanding the key steps and considerations is crucial for a successful installation. This guide will walk you through the essential aspects of installing a slide-in range, from preparing the installation space to making the final adjustments. We’ll cover important factors such as electrical requirements, cutout dimensions, and safety precautions, drawing from manufacturer guidelines and industry best practices. By following these instructions, you’ll be well-equipped to tackle this home improvement project with confidence, resulting in a professionally installed slide-in range that will serve as the centerpiece of your kitchen for years to come.

Explore sharp exclusive products

Installing a slide-in range can be a straightforward process if you follow the proper steps. Here’s a comprehensive guide to help you through the installation:

Preparation

Before you begin, ensure you have the necessary tools and materials:

  • Adjustable pliers
  • Level
  • Tape measure
  • Safety glasses
  • Cut-resistant gloves
  • Steel-toed shoes

Also, make sure you have the anti-tip bracket, screws, and any other parts included with your range.

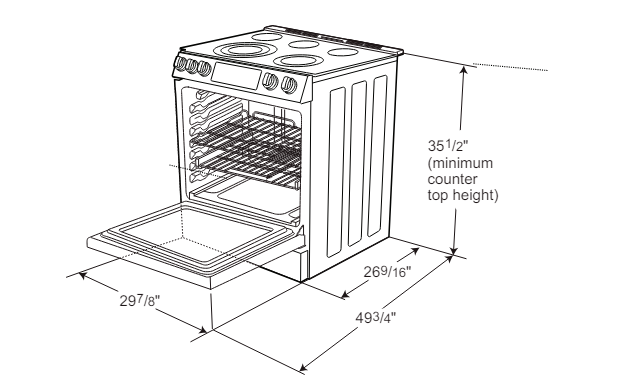
Slide in range installation measurements

Step 1: Prepare the Installation Space

Measure the cutout dimensions in your kitchen. For a standard slide-in range, you’ll need:

  • Width: 30 inches
  • Depth: 23 11/16 inches

Ensure the floor is level and can support at least 150 lbs. The countertop should be flat and level as well.

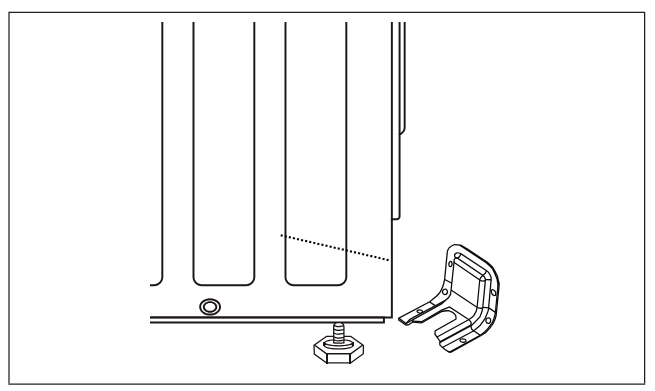
Install anti-tip bracket

Step 2: Install the Anti-Tip Bracket

The anti-tip bracket is crucial for safety. To install:

  1. Locate the proper position using the provided template.
  2. Mark the screw holes.
  3. Drill pilot holes if necessary.
  4. Secure the bracket to the floor or wall with the provided screws.

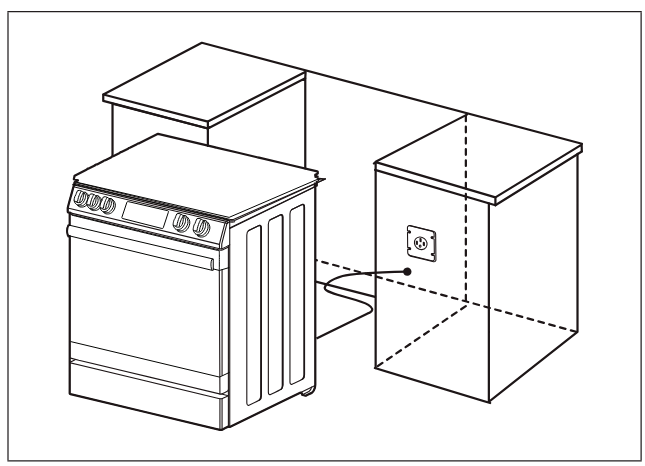
securing electrical connection for slide in range

Step 3: Electrical Connection

IMPORTANT: Electrical connections should be made by a qualified electrician.

  1. Ensure the power is off at the circuit breaker.
  2. Connect the range to a properly grounded 208/240V AC, 60 Hz electrical supply.
  3. Use a strain relief to secure the conduit.
  4. Connect the leads to the terminal block.

how to position a slide in range

Step 4: Position the Range

  1. Remove all packaging materials, including any protective film on stainless steel parts.
  2. Adjust the leveling legs so the range will slide easily.
  3. Carefully slide the range into place, ensuring the rear leg engages with the anti-tip bracket.

Step 5: Level the Range

  1. Place a level on the oven rack to check both front-to-back and side-to-side leveling.
  2. Adjust the leveling legs as necessary using adjustable pliers.

Step 6: Final Checks

  1. Verify that the anti-tip bracket is properly engaged.
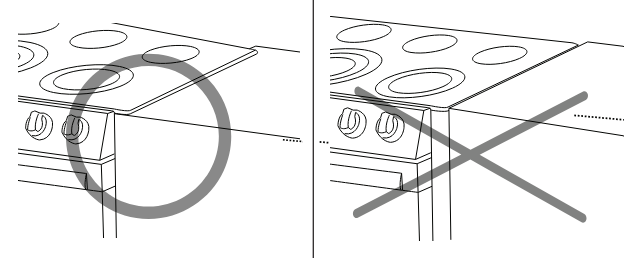
  2. Ensure the range is level and the cooktop overhangs the countertop slightly.
  3. Reinstall the oven door, drawer, and racks if you removed them earlier.

Step 7: Test Operation

Once everything is in place and connected, turn on the power and test all functions of your new slide-in range. Remember, if you’re unsure about any step in the process, particularly the electrical connection, it’s best to consult a professional. Proper installation ensures the safety and optimal performance of your new slide-in range.

Sharp Banner for Newsletter sign up

Featured in this Article


SSG3065JS
30 in. Gas Convection Slide-In Range with Air Fry (SSG3065JS)

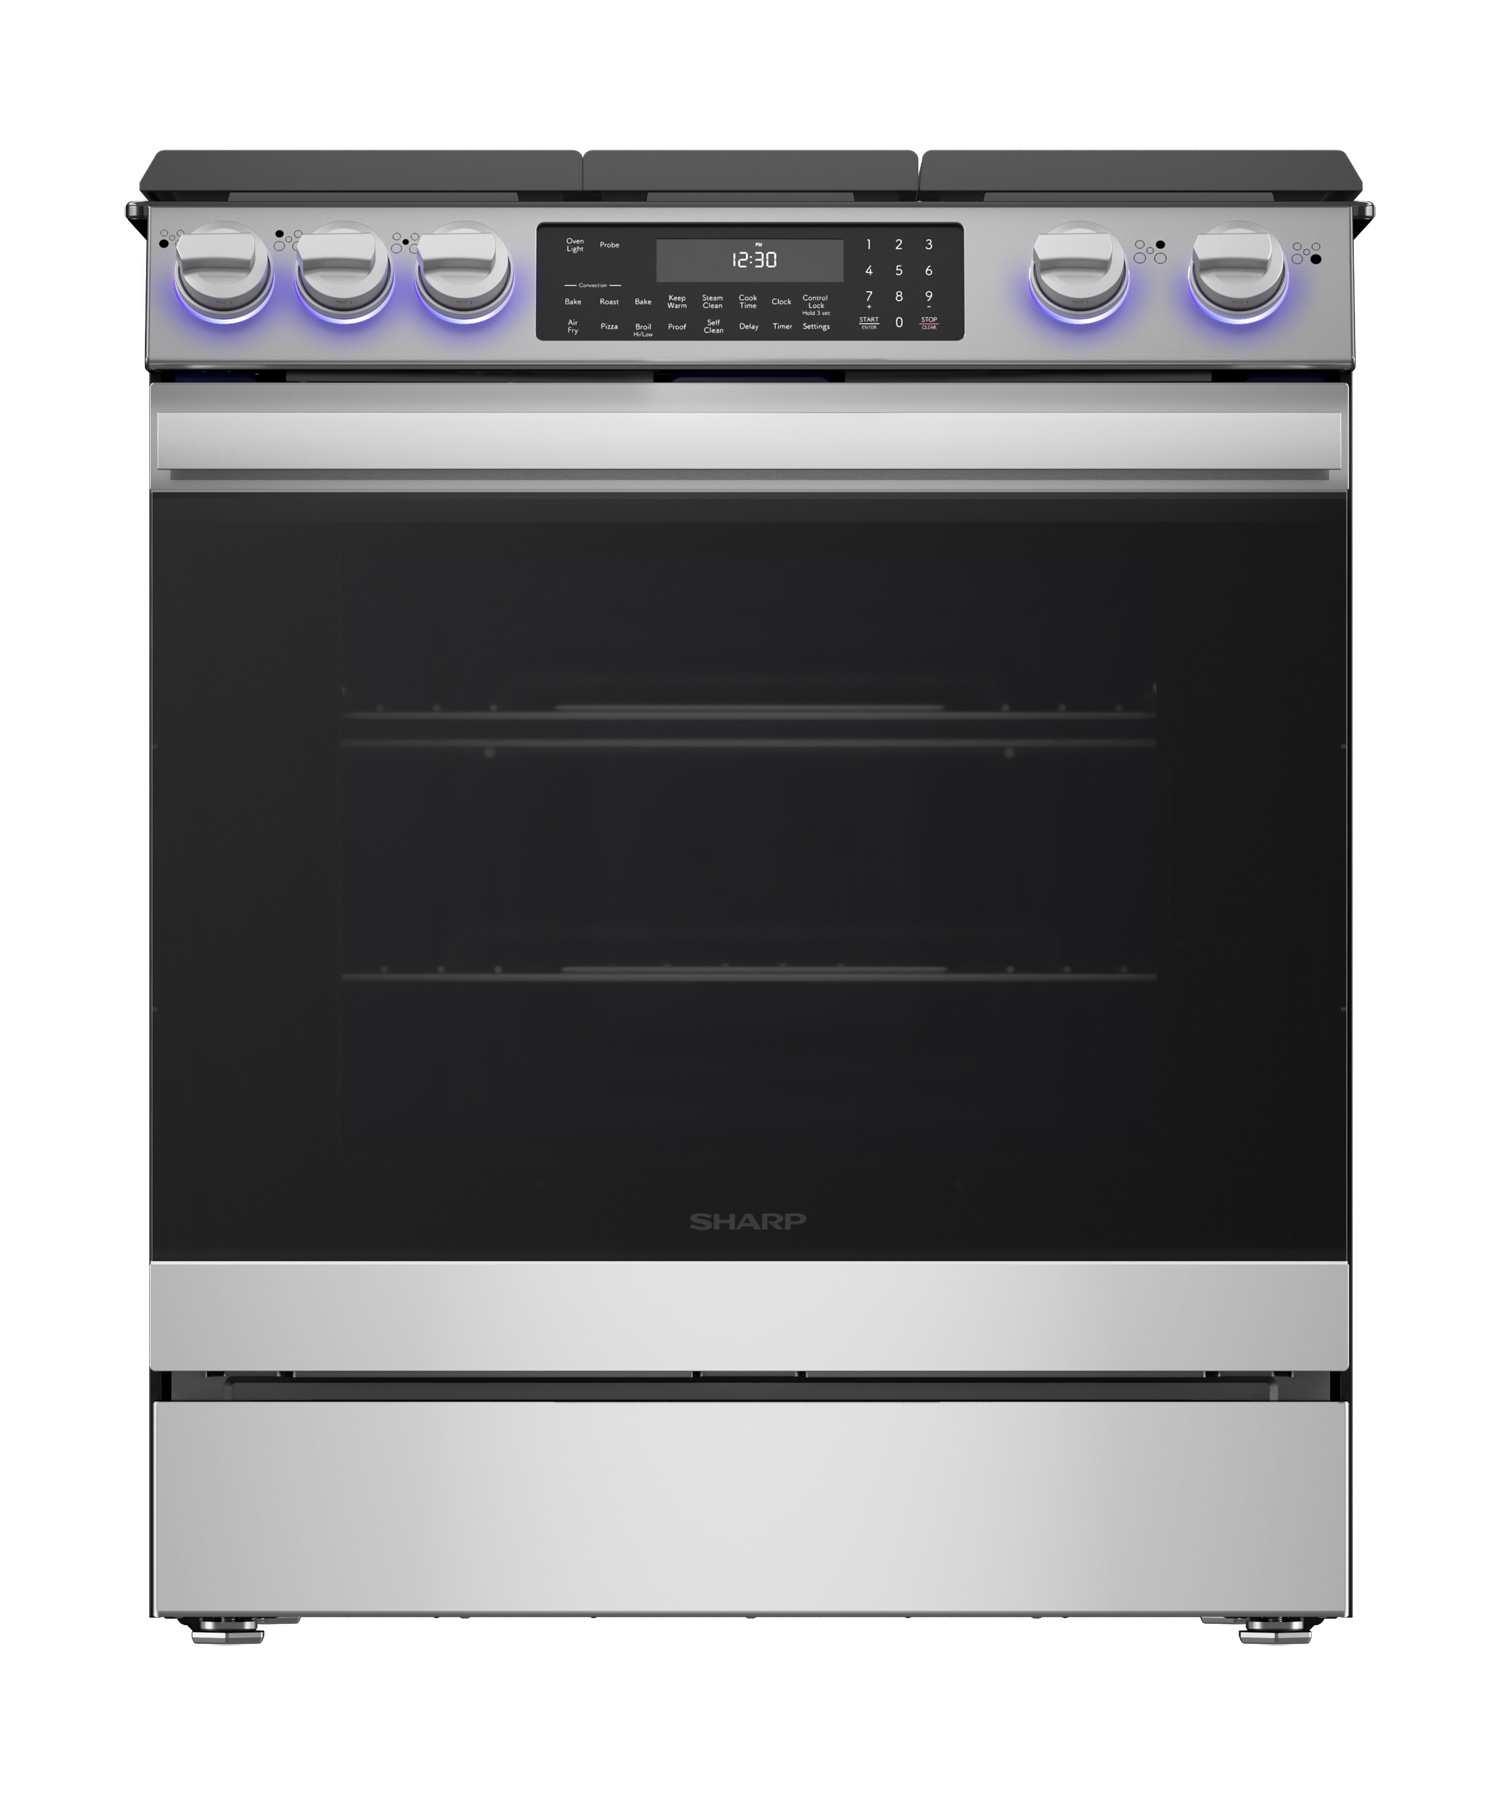
The Sharp® SSG3065JS Slide-In Convection Gas Range is built for your dream kitchen. The sleek, modern edge-to-edge black glass with stainless steel finish complements your style. And you can keep your countertops clear of single-serving appliances because the SSG3065JS is also a family-size air fryer!

The SSG3065JS cooktop has five gas cooking zones with 54,000 BTU of combined power. The 6.1 cu. ft. oven features powerful 34,500 BTU bake and broil elements with a convection system to cook evenly and heat efficiently. Seven sculpted rack positions, the included standard rack, and the glide rack create a versatile cooking space and make cooking for a crowd simple. The built-in temperature probe takes the guesswork out of cooking by monitoring your masterpiece and can tell your oven to turn off when your food reaches the set internal temperature. Thoughtful presets include Air Fry, Pizza, Convection Bake, Convection Roast, Bake, and Broil. Self Clean and Steam Clean modes help keep your oven clean without the need for harsh chemicals.

The Sharp SSG3065JS turns itself off after 12 hours for added peace of mind. The cooktop controls can be locked to prevent accidental operation, and the Hot Surface Indicator lets you know at a glance if the cooking surface is hot. In Addition, the Sharp SSG3065JS oven also provides an exceptional 2 year limited warranty for your extra peace of mind.

Learn More

SSR3065JS
30 in. Electric Convection Slide-In Range with Air Fry (SSR3065JS)

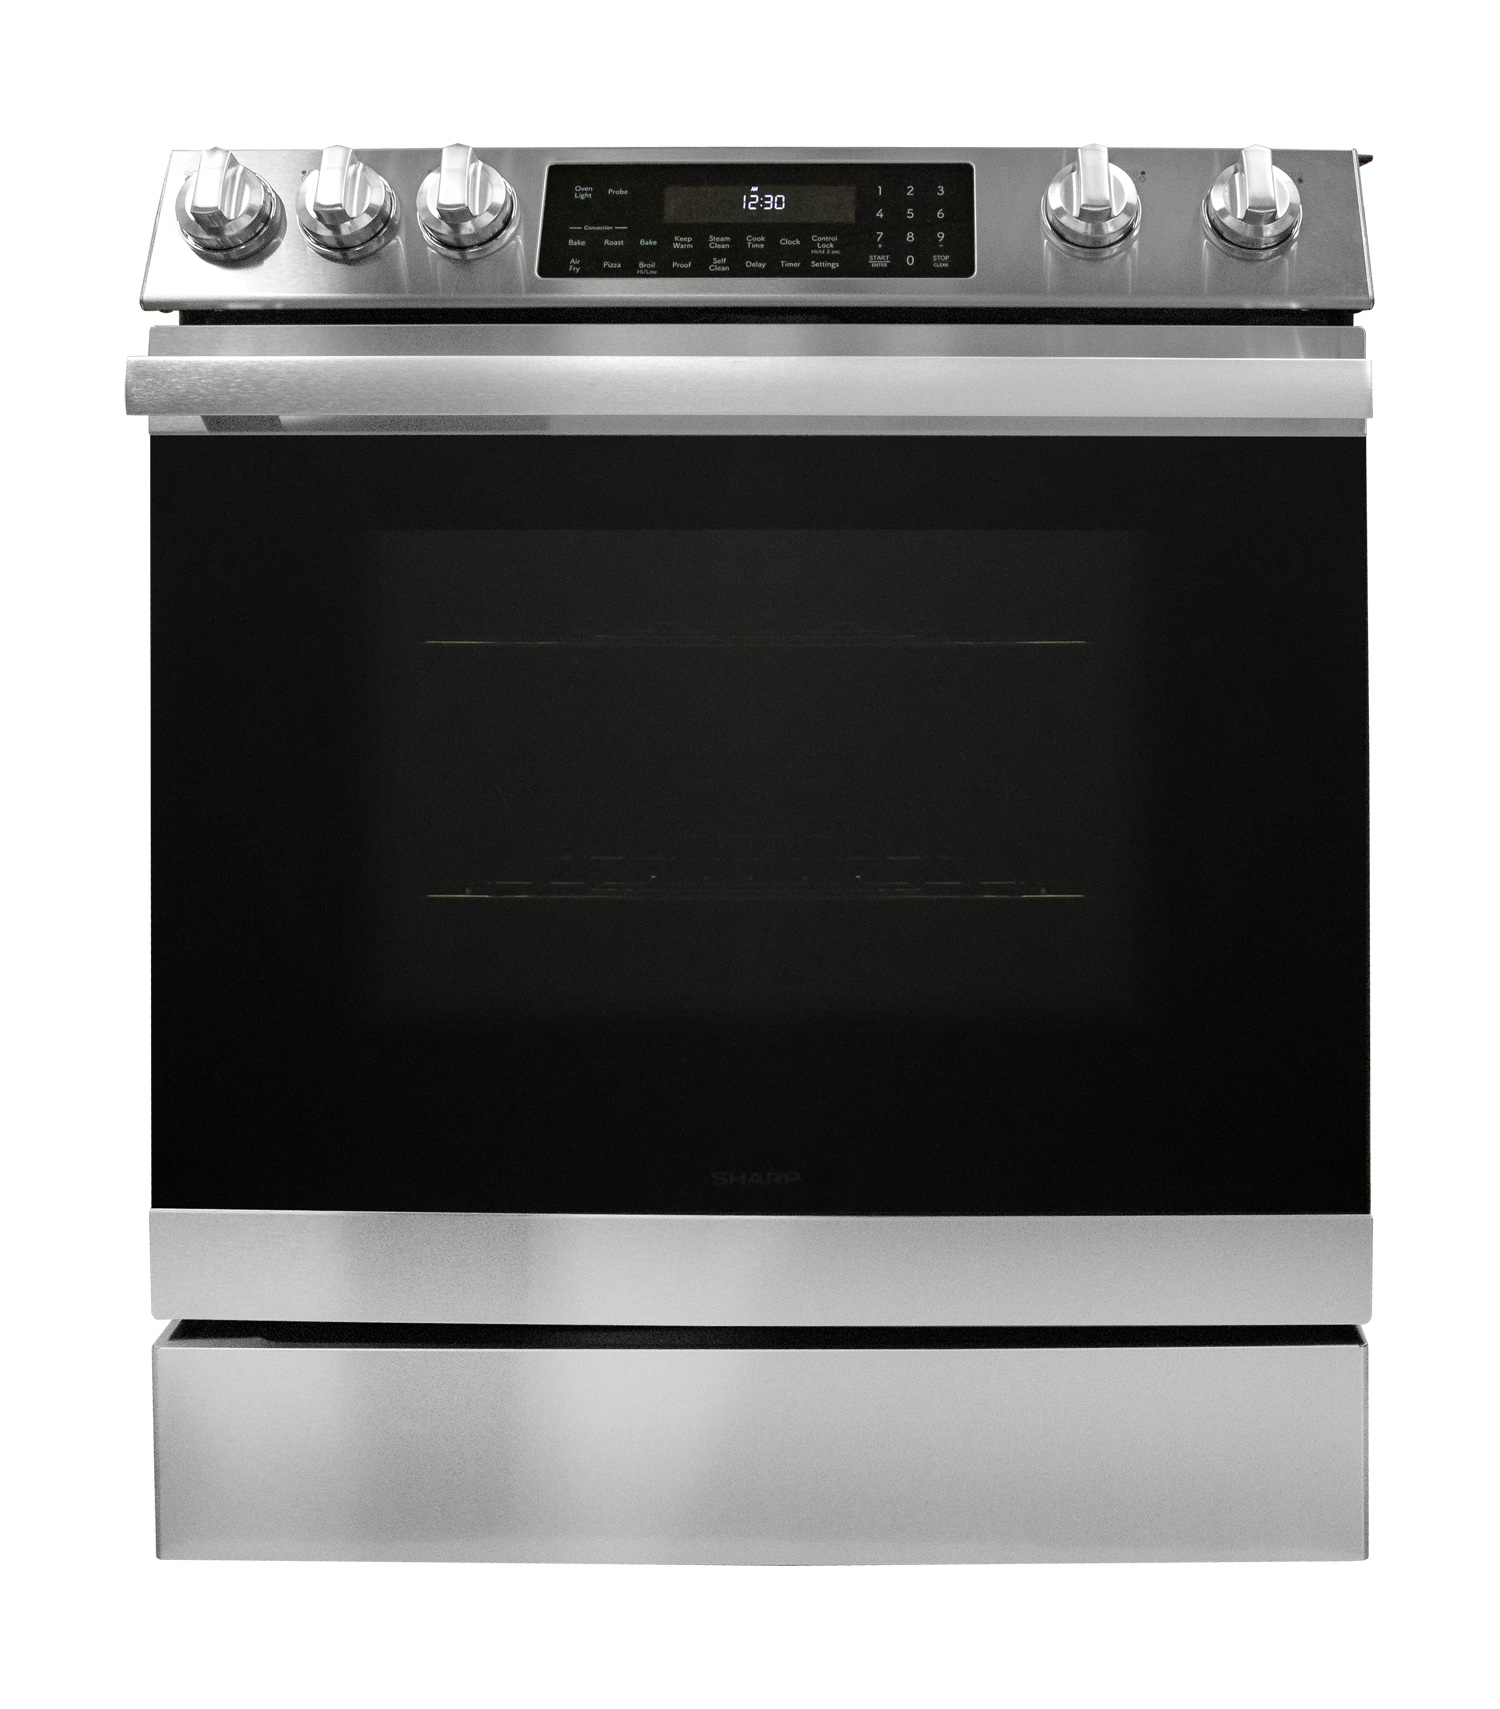
The Sharp® SSR3065JS Slide-In Electric Range is built for your dream kitchen. The sleek, modern edge-to-edge black glass with stainless steel finish complements your style. And you can keep your countertops clear of single-serving appliances because the SSR3065JS is also a family-size air fryer!

The SSR3065JS smooth cooktop has five radiant cooking zones with 8000W of combined power. The double-heater burner accommodates 6-inch or 9-inch cookware, and the 3000W of the 12-inch burner is perfect for boiling a big pot of water. The SCHOTT CERAN® ceramic glass provides efficient thermal control as well as long-term durability. The convenient warming zone keeps food warm until you are ready to serve. The 6.3 cu. ft. oven features powerful 8200W bake and broil elements with a convection system to cook evenly and heat efficiently. The built-in temperature probe takes the guesswork out of cooking by monitoring your masterpiece and can tell your oven to turn off when your food reaches the set internal temperature. Thoughtful presets include Air Fry, Pizza, Convection Bake, Convection Roast, Bake, and Broil. Self Clean and Steam Clean modes help keep your oven clean without the need for harsh chemicals.

The SSR3065JS turns itself off after 12 hours for added peace of mind. The cooktop controls can be locked to prevent accidental operation, and the Hot Surface Indicator lets you know at a glance if the cooking surface is hot. In Addition, the Sharp SSR3065JS oven also provides an exceptional 2 year limited warranty for your extra peace of mind.

Learn More

About Sharp Home Electronics Company of America (SHCA)

SHCA is the US Consumer Products Group of Sharp Electronics Corporation, the US sales subsidiary of Sharp Corporation, a worldwide developer and manufacturer of one-of-a-kind premium technology products.  SHCA includes the manufacturing of premium home appliances in Memphis, TN, together with the sales & marketing, and servicing of home electronics based in Montvale, NJ.  Leading products include Sharp AQUOS™ TVs, Sharp Carousel®, Microwave Drawer™ ovens, SuperSteam+™ ovens, and Plasmacluster® Ion air purifiers.

Sharp Corporation appears on Fortune’s World’s Most Admired Companies for 2023. Sharp Electronics Corporation received a 2023 award for Best Places to Work in NJ. Learn more at http://www.sharpusa.com/.

Sharp, AQUOS, Carousel, Microwave Drawer, SuperSteam+, Plasmacluster, and all related trademarks are trademarks or registered trademarks of Sharp Corporation and/or its affiliated companies. All other trademarks are the property of their respective owners.

Learn More

You Might Also Like