The easiest excuse for not getting organized is to say that you need more space or more money. Sometimes, if your favorite room or space is a mess, it seems easier to close the door.
As a current young professional in the hunt for an apartment myself, I look at virtual open houses and see some of the smallest kitchen spaces with limited cabinetry and space. While many look at that with displeasure and go on to the next one, I look at this as a challenge. You may be surprised at what you can make out of space, and looks may be deceiving. After reading this article, you may want to give it a chance.
If you have any experience with small-space saving, especially for kitchens, or decide to use one of these life hacks on your own, connect with us on social using #SharpHome on Instagram, Facebook, and Twitter.
Create More Cabinet Storage
I have been searching for an apartment right outside my local metropolitan area for some time now. If you know anything about New York real estate, spacious kitchens and budgets are not two phrases you hear in the same sentence often. This leaves me with the option to make the most out of the available space I will be given in the apartment I choose.
Getting organized does not take thousands of dollars or require hours of construction. The items you will need can be bought online or at a local store near you, and the payoff will be huge. Think outside of the box; you can make storage and utilize almost any space. I got inspiration from “Tidbits from the Tremayne’s,” calling for a chalkboard inside your cabinet doors.
The concept behind this idea is to find objects you can hang on the inside of cabinet doors, creating more room and using a chalk sheet or paint to organize your items. People have used measuring cups, chips, and utensils, to name a few. This allows you to make a bit more cabinet or countertop space.
After you gather which items you will use, the next step is to take your cabinet door off the hinges and place it on a flat surface. Measure or tape out the entire inside of the cabinet and apply the chalk tape or paint the defined area. Keep in mind; if you are in a rental unit, you may want to go with the chalk tape concept to be removed toward the end easily. If you are all for the paint, make sure to give your landlord a heads up (and maybe share the article with them!)
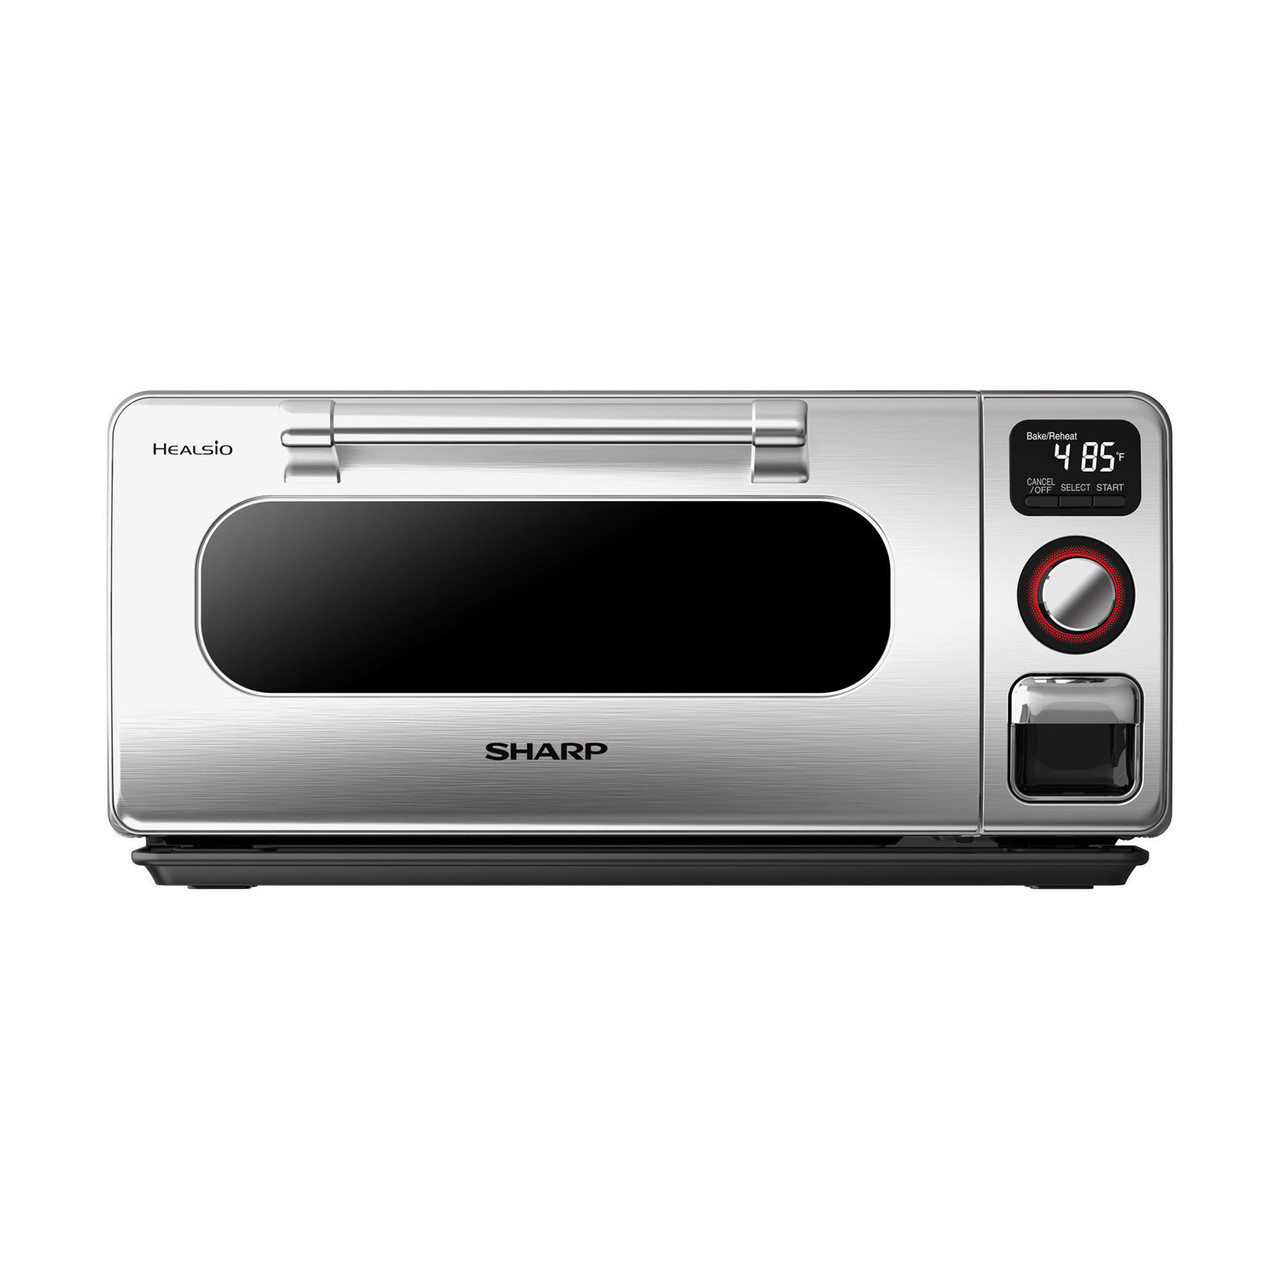
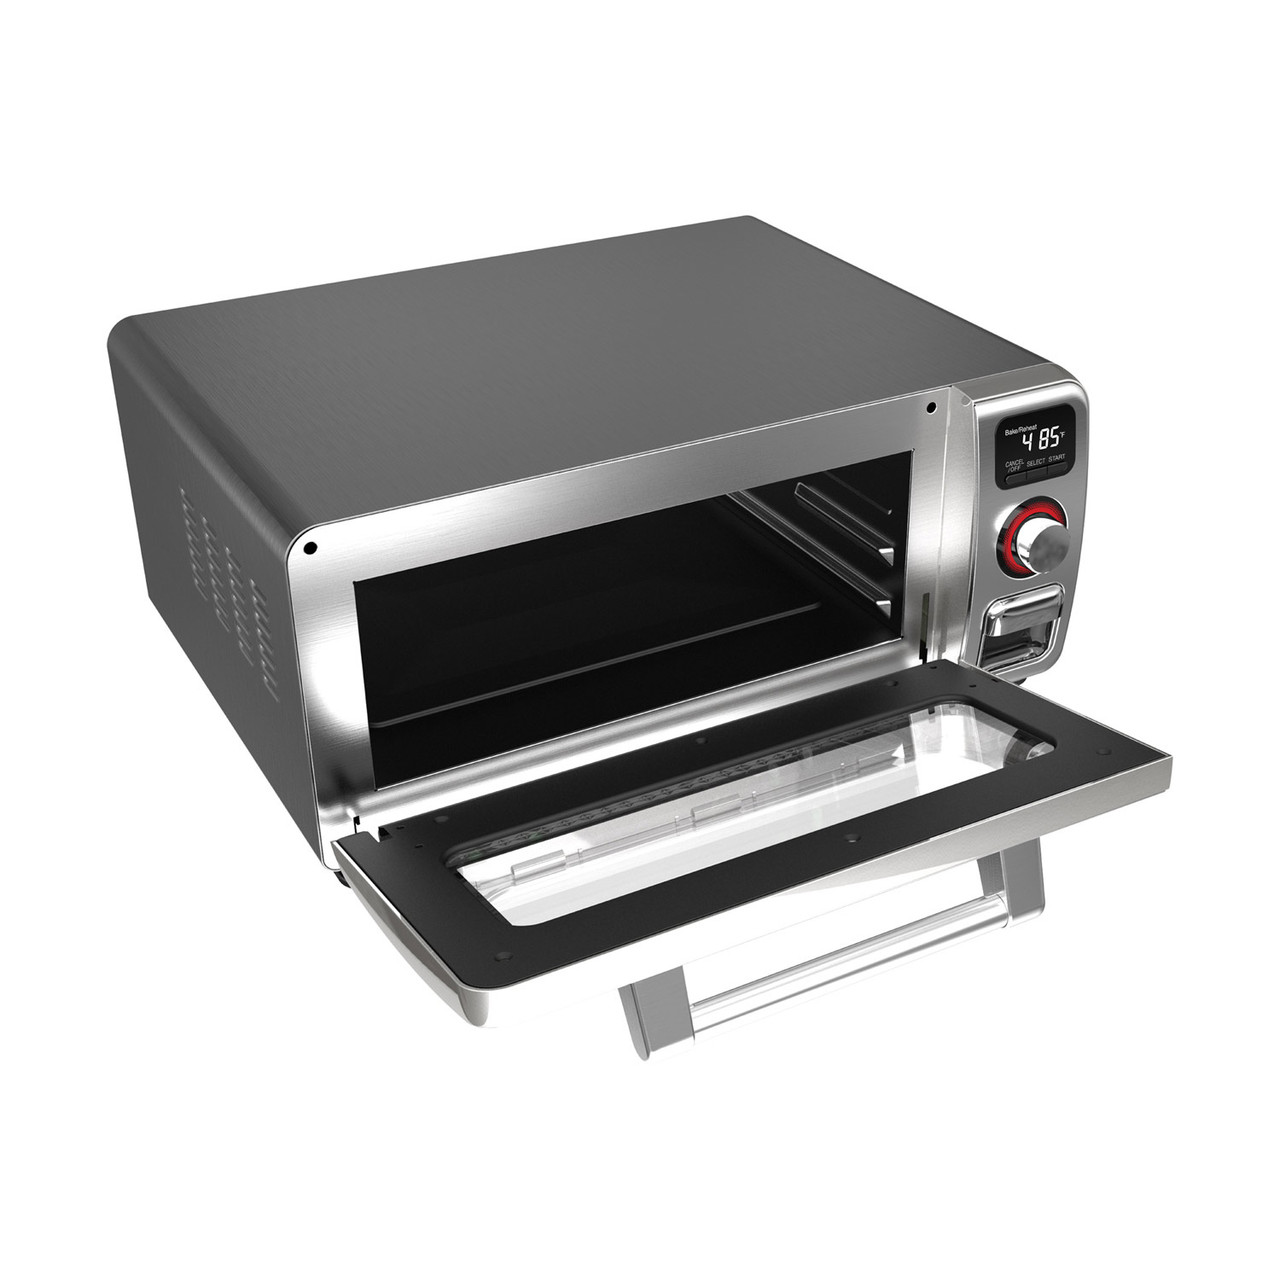
Give the paint a few minutes to dry and let the tape settle. Finally, get small adhesive hooks and apply them to the chalkboard. Feel free to continue this practice throughout all your cabinet doors, ensuring you can maximize the space in your kitchen. Perhaps more room for a Sharp Superheated Steam Countertop Oven. You are going to love it!
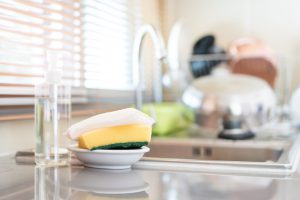
Extra Sink Storage
Whenever I am cooking in my kitchen or cleaning up around the house, one thing that annoys me most is clutter. It makes your home look messy and can make your design feel unauthentic and ruin the aesthetic you want to achieve.
While most of this can be corrected with bins and storage options designed to fit the feel of your home or kitchen theme, an area where I struggle is near the sink of my kitchen. Between the dish soap, sponge brush, and sponge, the lack of counter space near the sink causes me to leave these items against the wall and not have a proper place for them until now?
I began looking for ways to create more storage and stumbled upon an awesome step-by-step instruction guide from “The Art of Doing Stuff,” which gives us tips on installing a tip-out tray under your sink for storage. You know those fake drawers that are typically under the sink but don’t open? Let’s put them to work!
The first step is to remove the false drawer from the bottom of the sink. This should be a simple step as they usually pop right off or can be unscrewed. Then head on over to your local dollar store (with your mask, course) or go online and purchase pencil trays. Screw-in the trays to the back of the false drawer. To ensure that it will work and you will have enough room, set it up against the opening to make sure it does not interfere with the sink basin or any other cabinets. Once set, screw them into the cabinet drawer.
Finally, place a tip-out hinge, similar to the ones found here, to each side of the false drawer (even though it’s not so false anymore) and reinstall it back into the cabinet base. Yay! Now you can hide your sponges, soaps, and whatever you want, giving your kitchen a more sleek and edgy look.
Overall make sure that you have a pencil, screwdriver, ruler, drill, and a drill bit, in addition to the two hinges and pencil bins to complete this project. I can’t wait to see how it turns out.
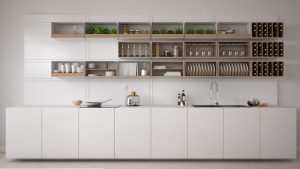
Pegboard Backsplash
The more and more I research small kitchen storage ideas, the more I realize how small some kitchens are. If you think yours is small, I challenge you to go and do a quick search online and see. This allows us to be even more creative.
There are times where an organization can serve as a design piece. There is just something so satisfying about looking at someone’s belongings when they are all in sync with one another and aligned so symmetrical. From floating shelves that display all of your belongings to open door pantries, who says you can’t tap into your interior designer side and show off your organization skills.
A typical kitchen is set up with a counter with storage on the bottom and cabinets on the top, with a limited amount of wall space in between. Well, if you learned anything thus far, it is maximizing everything, even the smallest of areas. Finding this concept for a pegboard backsplash from “DIY Network” is the perfect addition to this article.
To complete this look and storage hack, you are going to need a 1/2″ pegboard panel, paper bags (the grocery store ones should work fine), 12 felt pads, 3/4″ drywall screws, and 1/2″ wood trim for edging around the backsplash.
The first step is to use the paper bags to outline and create a template to place the backsplash. The benefit of using the bags is so that you can write and measure out the size of the pegboard. Double-check and make sure that your outlines and measurements are exact, then place it on top of the pegboard and use a jigsaw to cut it according to the size.
Next, we are going to want to add felts to the back of the pegboard. This is so that they stay off the wall, allowing hooks to slide in and out. Finally, screw the pegboard in the wall and plan it out. Hang up your favorite utensils, measuring cups, or anything else. This can help declutter your countertop and cabinet space, allowing for more room and a cleaner look.
Under Cabinet Storage

We are seriously utilizing every square foot in the kitchen to make sure you get the most out of your space. From backsplashes to cabinet doors and more, my goal is for you to get organized and get in a better state of mind.
It amazes me what you can find online. The internet feels like a collaborative space for people to exchange and share ideas to solve common problems and create unique solutions. After searching for hours for the simplest and most beneficial DIY storage hacks for small kitchens, I realized that cabinet shelves aren’t the only storage source in a cabinet. I know we talked about the usage of cabinet doors before, but did you also know that you can utilize the bottom of the cabinet?
I was on social media and came across this posting from “Two Men and a Little Farm” calling for under cabinet jar mounting. Under your cabinet, the process is quite simple, mount in a magnetic strip and place it under the cabinet. It is recommended that you place it towards the back of the cabinet to utilize the counter space when cooking, prepping meals, and everything in between.
Once the magnetic strip is up, you can hang the mason jars as the tops attach to the magnetic strip. It may be a great idea not to fill the mason jars with heavy items. While the blog stopped here, I saw another awesome hack looking at the photograph from the bloggers. This one may be even simpler (I know, right?).
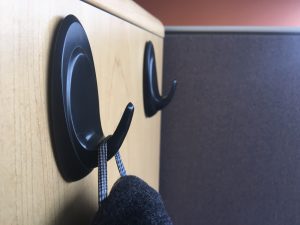
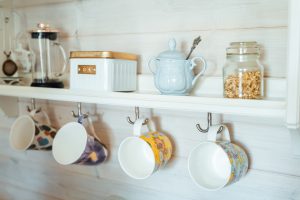
Some kitchen objects can be difficult to store because of their shapes. And by some kitchen objects, I mean coffee mugs. I can tell you that my whole bottom row in my one cabinet is coffee mugs, and none of them are the same. Some I got from vacations, others as gifts, it can be hard to keep them organized and store. Placing little hooks on the bottom of your upper cabinet will allow you to hang all your uniquely shaped (I don’t like to say odd) to hang, creating shelves of space where you can store more.
Try placing the coffee mugs closest to your coffee machine. Trust me on this one; you are going to love it!
Pantry Between the Studs

From the tiniest projects, from just sticking on an adhesive on the back of a cabinet door to knocking down sheetrock, everyone has their own ideas of a small project. This last project is by far one of the most innovative and genius ideas I have seen in a long time and personally doesn’t take longer than a day’s work to complete. How would you feel if I told you that you could build a panty in your home without adding any square footage? Would you believe me? I was confused for a second until I found this amazing concept from “Live From Julie’s House.”
Basically, the idea is to set up shelves between your walls’ studs, remove the drywall, and create a storage place for foods or anything. Sliding doors will allow you to maximize the space without taking up too much room. Now before you get a sledgehammer, here are a few tips to follow.
Ensure that you know where the studs are in the wall before you see if this is a solution for you. You can tell by knocking on the wall and seeing where it is hollow and hard. Also, if you are renting a house or are not the sole homeowner, you should consult this project with other parties (I highly believe that they will be all for it.) If you can, you may also want to use a wall where you know there are no pipes or wiring. If you check off all these boxes, let’s move on.
Create wood shelves in between each of the studs. Spread them out far enough so you know what you can place on them. In fact, please test it out using common kitchen products such as cereal boxes, canned goods, and more to ensure that you have enough height space.
Finally, install sliding doors covering the space’s width, so not everyone has to see your pantry. If you want to tap into your artistic side, feel free to paint a design on the door and paint all the shelves a neutral color that matches the rest of the house’s theme.