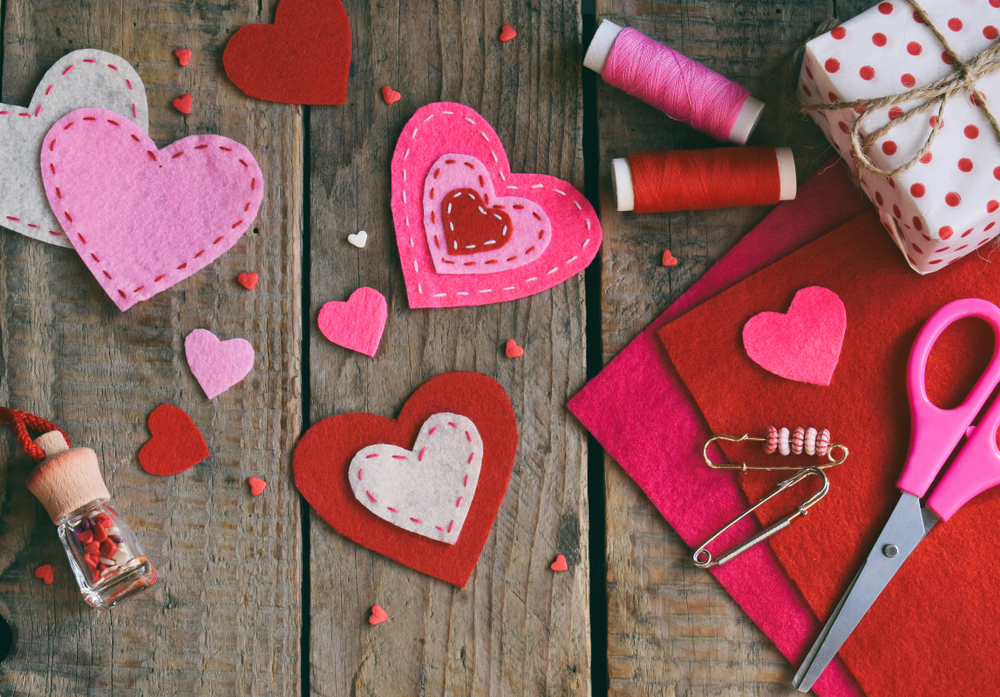
Love is in the air and what better way to celebrate than with a DIY craft? Crafting is one of my favorite things to do, especially when I can share it with the little ones in my life. There is no better feeling than sharing something you love with someone you love. I cherish the things we make and the moments we took to make them.
I first got into crafting when I was a kid. My mom was always creating something new and I wanted to join her. We created memories that I will cherish forever as we sat around crafting. I now get to pass that love onto my own children. If you’re looking for something fun to do with your kids, you have to try these Valentine’s Day crafts!

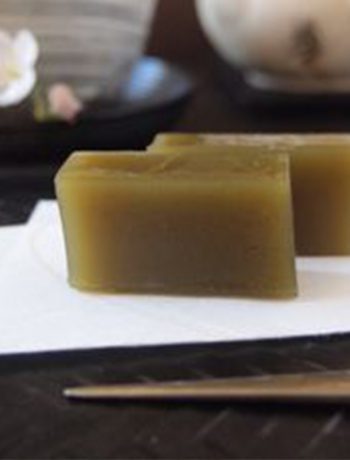
Heart-Shaped Crayons
I have a bin full of crayons and scattered throughout the bin are bits and pieces of broken crayon. Rather than throwing out those pieces that have seen too much love, I decided to give them a second chance. I wasn’t quite sure what to do with them until I stumbled upon this post from Simply Kinder! Take your broken crayons and get ready to give them a second chance.
Materials:
- Heart-Shaped Silicone Mold
- Crayons
Instructions:
- Measure your silicone mold. Your mold should fit and turn properly on your turntable in your microwave. If it does not fit and the plate is unable to turn completely with the mold on it, cut the mold to fit.
- Remove the paper from the crayons.
- Break your crayons into pieces that will fit in the molds.
- Fill the mold to the top with the broken crayons. Use any color combination you like. For an extra Valentine’s Day feel, place reds, pinks, and whites together!
- Place your mold in the microwave and microwave for 5 minutes. If you are using the Sharp Smart Microwave, say “Alexa, microwave for 5 minutes”.
- Carefully remove the mold from the microwave and place it in the freezer. The Sharp Refrigerator features an upper-level Freezer-Drawer for quick access. Freeze for 20 minutes, or until completely solid.
- Remove from the mold and enjoy! You now have heart-shaped crayons you can use or gift.
I loved this craft so much that after I used all the broken pieces I could find, I began breaking more crayons just to make these adorable heart-shaped ones!
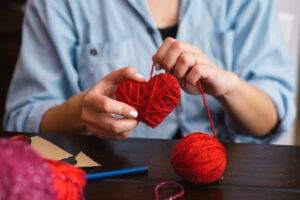
Yarn Wrapped Hearts
I am constantly trying new things, so I have a ton of art supplies scattered throughout my home. I had enough yarn to crochet everyone in my family at least six scarves, blankets, and hats each! Rather than overwhelm everyone with gifts, I wanted to create some decorations I could use for years. Once I saw this Yarn-Wrapped Hearts Craft from Easy Peasy and Fun, I knew I had to make them with my kids!
Materials:
- Yarn
- Cardboard
- Scissors
- Clear tape
- Pencil
Instructions:
- Using the pencil, draw a heart on the cardboard and cut it out.
- Wrap the yarn around the cardboard heart and tie a knot. Secure the knot to the cardboard with clear tape.
- Wrap the yarn around the cardboard heart and continue wrapping the heart in all directions until the heart becomes “chunky” and you are happy with the way it looks.
- Tie a knot to secure the yarn in place. You should be left with a thick heart!
I loved how this project turned out and decided to create a garland with all of the hearts that my kids made. I hung the garland on my wall and my guests love it almost as much as I do!
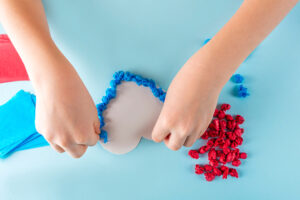
Tissue Paper Hearts
Every time I go to the store to buy a gift for someone, I always buy tissue paper. I always forget I have a stock-pile of tissue paper at home. I feel guilty throwing tissue paper away and am constantly looking for new ways to repurpose tissue paper that has been gifted to me. I came across this Tissue Paper Heart Craft from The Kindergarten Connection and immediately gathered the kids to try it. I loved how I already had everything at home!
Materials:
- Tissue paper
- Paper plates
- Glue sticks
Instructions:
- Cut a heart from the paper plate. You can free-style a heart or use a template!
- Create small pieces of tissue paper by cutting or tearing the tissue paper.
- Apply glue to a small section of the heart shaped paper plate.
- Crumple the tissue paper and apply it to the sections of the paper plate coated in glue. You can place the tissue paper around the edges of the heart to create a fun boarder or cover the whole thing!
This craft is perfect because it allows room for creativity while working on fine motor skills!
If you try any of these Valentine’s Day Crafts or have some of your own, we would love to see them! Share your creations with us on social media using #SharpHome.