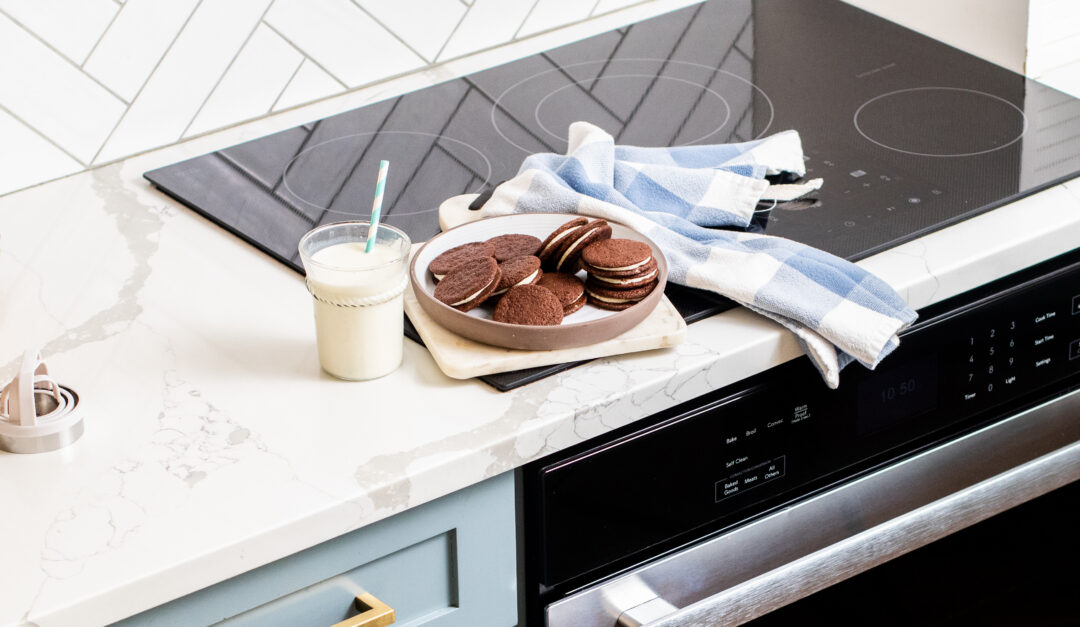
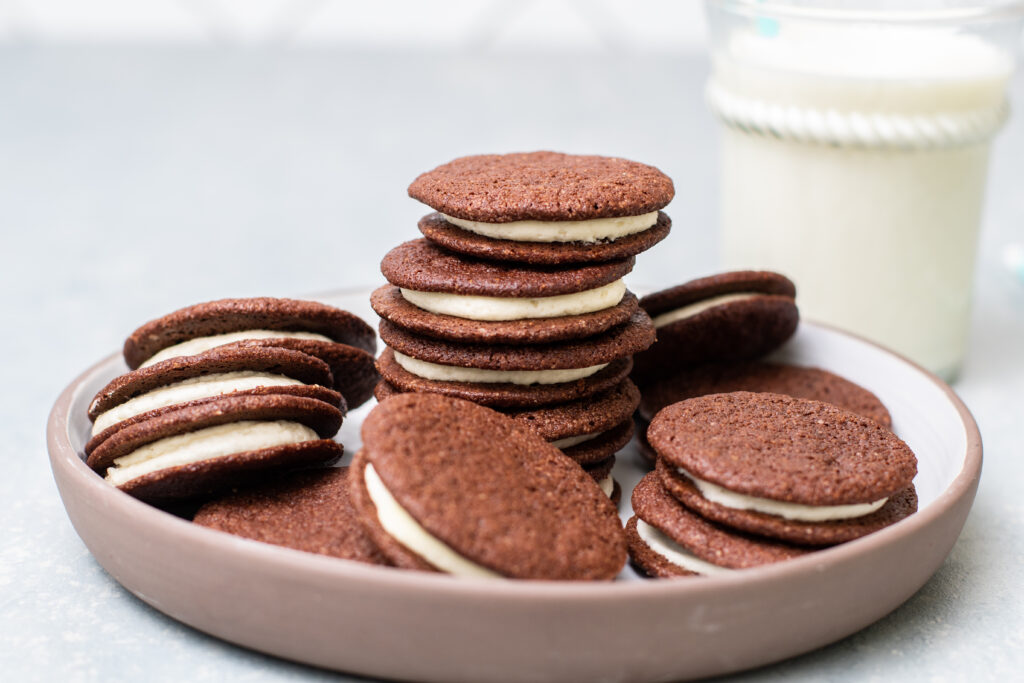
These Gluten-Free Chocolate Sandwich Cookies are prepared in a Sharp Traditional Convection Wall Oven.
Everyone’s favorite cookie is remade with more mindful ingredients! These Gluten-Free Chocolate Sandwich Cookies are quite Simply Better than the packaged version. Grab a glass of milk, because these chocolate sandwich cookies are made for dunking! Bake up gluten-free cookies for the lunchbox or after-school treats! I love keeping mindful cookies in the freezer for ease.
If you recreate this childhood favorite, share your creations with us on Instagram, Facebook, and Twitter by using #SharpHome.
Make Some Mindful Chocolate Sandwich Cookies at Home!
Going gluten-free does not have to mean missing out on your favorite treats! I prefer controlling the ingredients in my gluten-free treats since store-bought options typically use a lot of starches, gums, and preservatives.
Who doesn’t love the classic chocolate cookies with a cream filling?
Making them at home is a fun process, and kids love to help! This is the perfect baking activity to do together, and a wonderful surprise for lunch boxes or after-school snacks.
The chocolate wafer cookies are absolute perfection! They bake up thin, with a deep cocoa flavor and a delicate, crisp texture. The dark chocolate flavor contrasts perfectly with the fluffy vanilla buttercream sandwiched in the middle!
To make these a more mindful option, I use low-carb almond flour, small amounts of coconut sugar and honey in the cookies, and I use powdered monk fruit sweetener for the frosting. There are options for using more standard sweeteners if you don’t have all of these options!
Don’t forget to serve these fun gluten-free cookies with a glass of cold milk! These were made for dunking.
What You’ll Need
- Almond Flour (a higher protein, gluten-free flour that keeps these cookies crisp!)
- Arrowroot (sub tapioca flour)
- Cacao Powder
- Coconut Sugar (this is a lower glycemic sugar, but use brown sugar if you don’t have it)
- Baking Soda & Sea Salt
- Honey (I buy and recommend raw honey or sub maple syrup)
- Butter (I recommend pastured butter)
- Vanilla
Vanilla Buttercream
- Butter (softened to room temperature. I recommend pastured butter)
- Powdered Sugar
- Vanilla Extract
- Almond Milk
Baking at Home is Mindful and Fun!

Sharp’s modern and elegant, built-in wall ovens feature edge-to-edge black glass and stainless steel design.
Baking at home is a great way to enjoy dessert – but control the ingredients! These fun chocolate sandwich cookies are much lower in carbs and sugar than the store-bought variety and are free from highly processed ingredients, like seed oils and corn syrup. Plus, it’s a great project to do with kids!
My son loves helping me sandwich the frosting in between the chocolate wafer cookies. We use the Sharp European Convection Oven to make all sorts of delicious treats!
It’s roomy inside, and it evenly bakes these delicate cookies. It’s sleek and modern, and I love the way it looks in my kitchen.
Hop on over to the Sharp Home USA website to see if the European Convection Oven is the right fit for your dream kitchen!
How to Make Gluten-Free Chocolate Sandwich Cookies
Step 1: Into a medium-sized bowl, combine the almond flour, arrowroot, cocoa powder, salt, and baking soda. Mix well.
Step 2: In a stand mixer (or use a large bowl and a hand mixer), beat together softened butter, coconut sugar, maple syrup (or honey), and vanilla. Beat until incorporated.
Step 3: Add the dry ingredients into the bowl with the butter mixture. Stir until just combined and there are no dry ingredients remaining.
Step 4: Use a large piece of parchment paper folded in half, and put the sticky cookie dough in between the two layers. Use a rolling pin to roll the dough out to 1/8 in thick, or an 8″ x 12″ rectangle. If they are too thin, they will burn. Place the rolled-out dough on parchment on a baking tray, and freeze it for at least 1 hour.
Step 5: Preheat the oven to 350º F. Remove the frozen dough from the freezer, and work quickly before it starts to thaw. Use a 1-inch round cookie cutter to cut out round cookies, and place them on a parchment-covered baking sheet. If your dough is frozen, the cookies come out great. If you haven’t given the dough enough time to freeze, it is too sticky to remove the circles.
Step 6: Bake the cookies for 10 minutes. Once they are done, turn off the heat, and open the oven door to allow heat to escape. Then, close the door, and let the cookies cool inside the oven to crisp up. Anywhere between 10 minutes-30 minutes is fine!
Step 7: In a stand mixer with the whisk attachment (or a bowl with a hand mixer), whip the softened butter, vanilla, and powdered sweetener.
Tip: If using a monk fruit sweetener, the butter needs to be very soft. If it’s too cold in your house (or you’re trying to speed up the process), put the butter on a plate in a 170º F warm oven for a few minutes. Monk fruit sweetener will blend great into very soft butter, but it becomes lumpy if the butter is too cold.
Step 8: Pipe the frosting onto half of the wafer cookies, and then sandwich each of them with another wafter cookie.
How to Store & Frequently Asked Questions
How to Store Leftover Chocolate Sandwich Cookies
Keep gluten-free chocolate sandwich cookies in an air-tight container in the freezer for up to 3 months.
I prefer to keep the chocolate wafer cookies frozen separately and keep the frosting in the fridge. I frost them when ready to enjoy to keep the cookies as crisp as possible! The frosting needs to be softened (I put it on the counter for 30 minutes) prior to adding it to the cookies.
Variations: Mindful Mint Cookies or Other Options
- Mint: To the frosting, add 1 teaspoon or matcha (for color) and 1/2-1 teaspoon of peppermint extract to the frosting.
- Chocolate: Add 1/4 cup cocoa powder to the frosting, and adjust the amount of almond milk until desired consistency is reached.
- Birthday Cake: Make frosting with 1 tablespoon of sprinkles mixed in.
- Peanut Butter: Prior to adding the almond milk to the frosting, mix in 1/4 cup of peanut butter (or SunButter!) to the frosting. Beat in, and then add almond milk until desired texture is reached.
- Chocolate Hazelnut: To the frosting, add 1/4 cup cocoa powder and 1/4 cup hazelnut butter. Adjust almond milk until desired texture is reached.
Are these Homemade Cookies Vegan?
This recipe can easily be adapted to suit a vegan diet. Use coconut oil (softened) instead of butter for the cookies, and use a dairy-free butter spread (or vegan non-hydrogenated shortening) in place of the butter for the frosting.
Click here to join our forever-free newsletter and never miss a recipe or life hack. Now that’s Simply Better Living!

