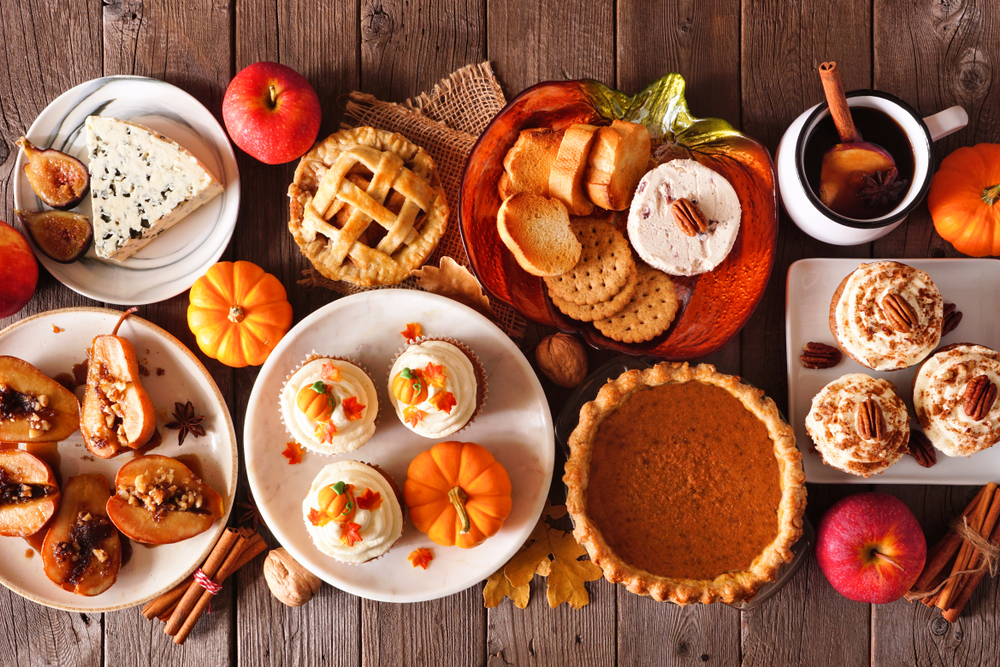
It’s the most wonderful time of the year! And no, I am not talking about the big one at the end of December. So, bring out your flannels, boots, and pumpkins because you guessed it. It’s fall y’all. Okay, I know that was a bit corny, but this is one of my favorite seasons. Between the weather cooling down, all the fall activities, and most importantly, the delicious foods and desserts, I know I am all in! Are you?
When I was 14 years old, my first job was on a farm and involved running the day-to-day operations of all the agritainment and fall like activities that many look forward to. I worked at the stand next to the market where all the pies and desserts were being sold. With that, I can honestly say that I have a special place in my heart for fall desserts (and gained a few pounds that October).
Throughout this fall dessert recipe roundup, I plan on sharing with you some of the best and most creative fall dessert recipes for our favorite readers (again, that’s you) to prepare it home. So, make sure to try them and let us know what you think by connecting with us on social using #SharpHome on Instagram, Facebook, and Twitter.
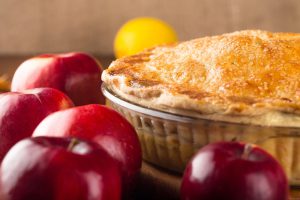
Gluten-Free Apple Pie
While one of my favorite things to do in my downtime is to test and explore unique and creative dessert options, and at the end of the day, I do enjoy sticking with some of the classics. This wonderful serving can serve as the perfect way to end any dinner or a great dessert to give close family and friends. Whether you are celebrating the kid’s great week at school, finishing off Sunday dinner, or just brightening up the typical Monday, this recipe is the answer. And when your close ones ask you for the recipe (trust me, they will), feel free to share it!
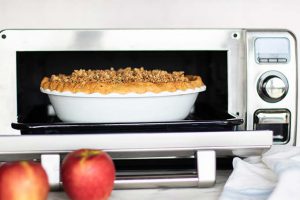
A while back, Simply Better Living shared with the best readers on the internet (you) our take on a Gluten-Free Apple Pie. We figured that since it was such a huge hit, why not reintroduce it to you this season. Between the sweet taste and ideal serving sizes, I bet that you will be on your way to buy ingredients before you even finish reading the instructions.
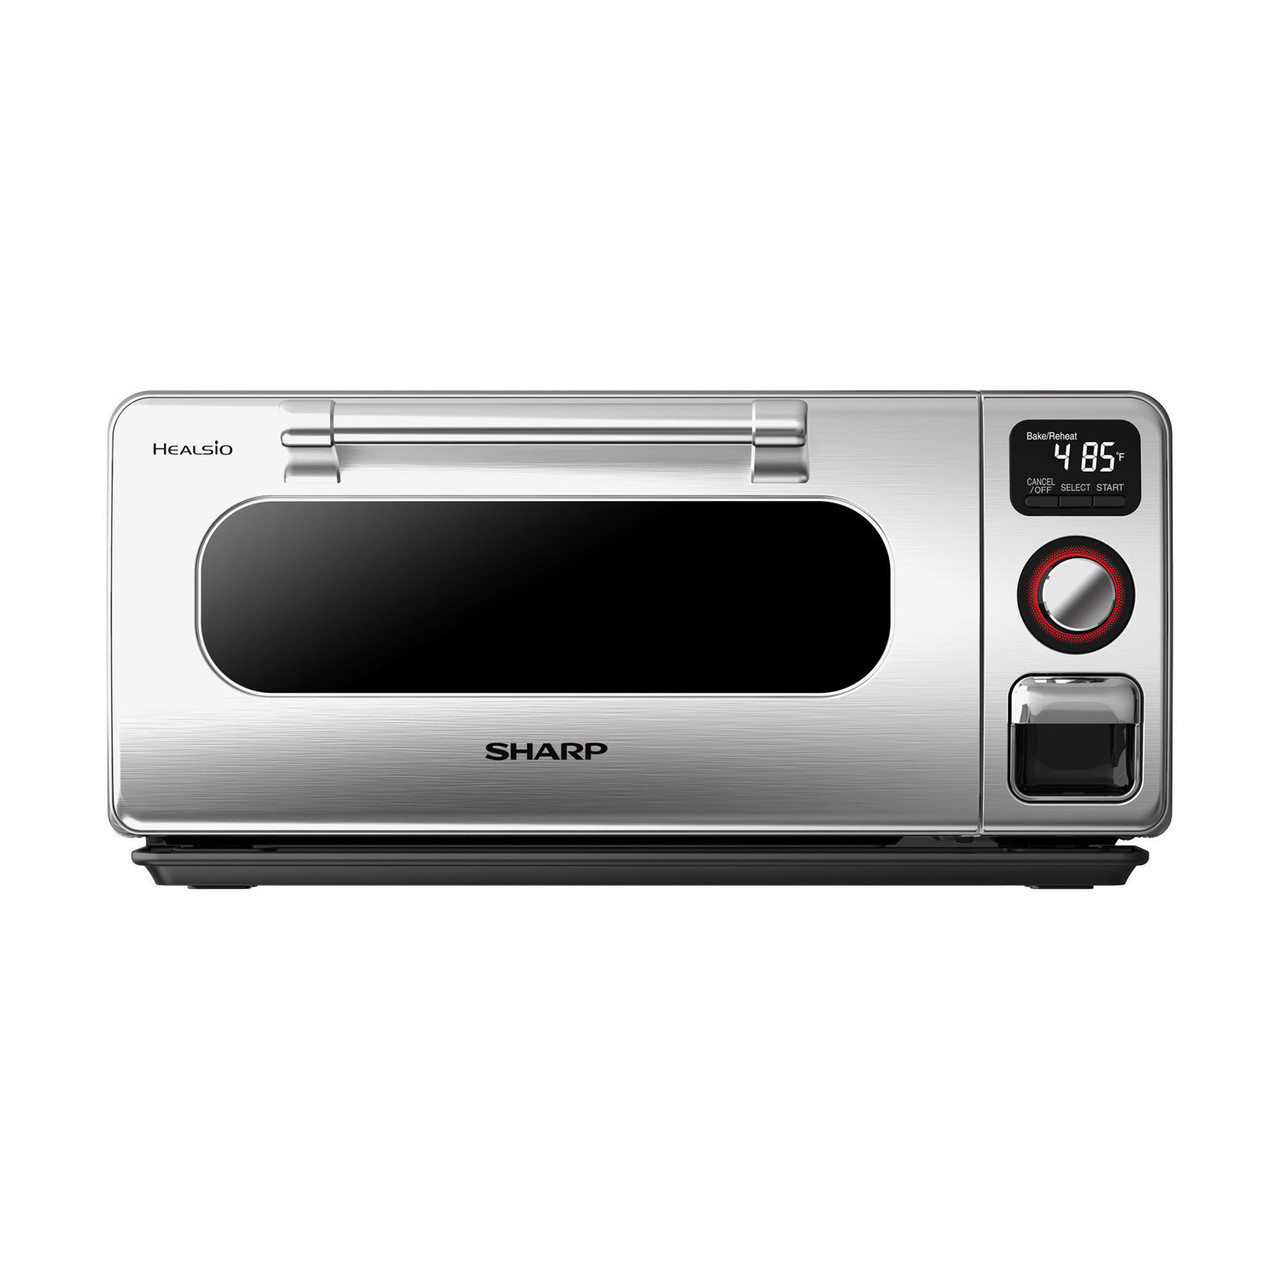
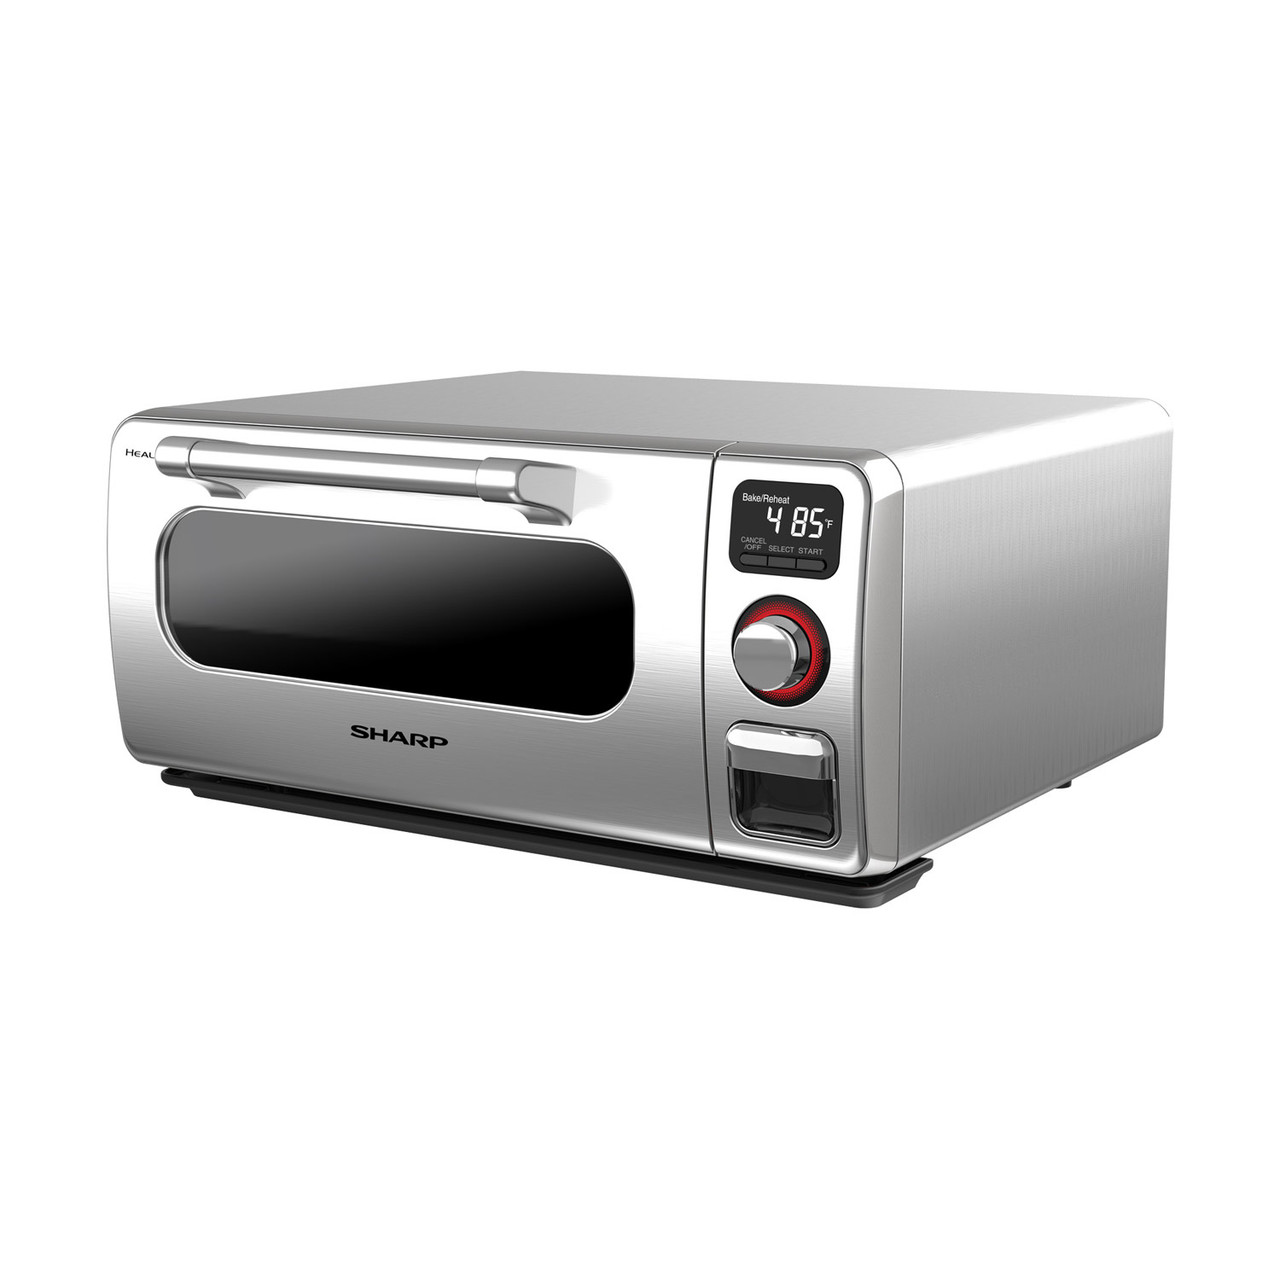
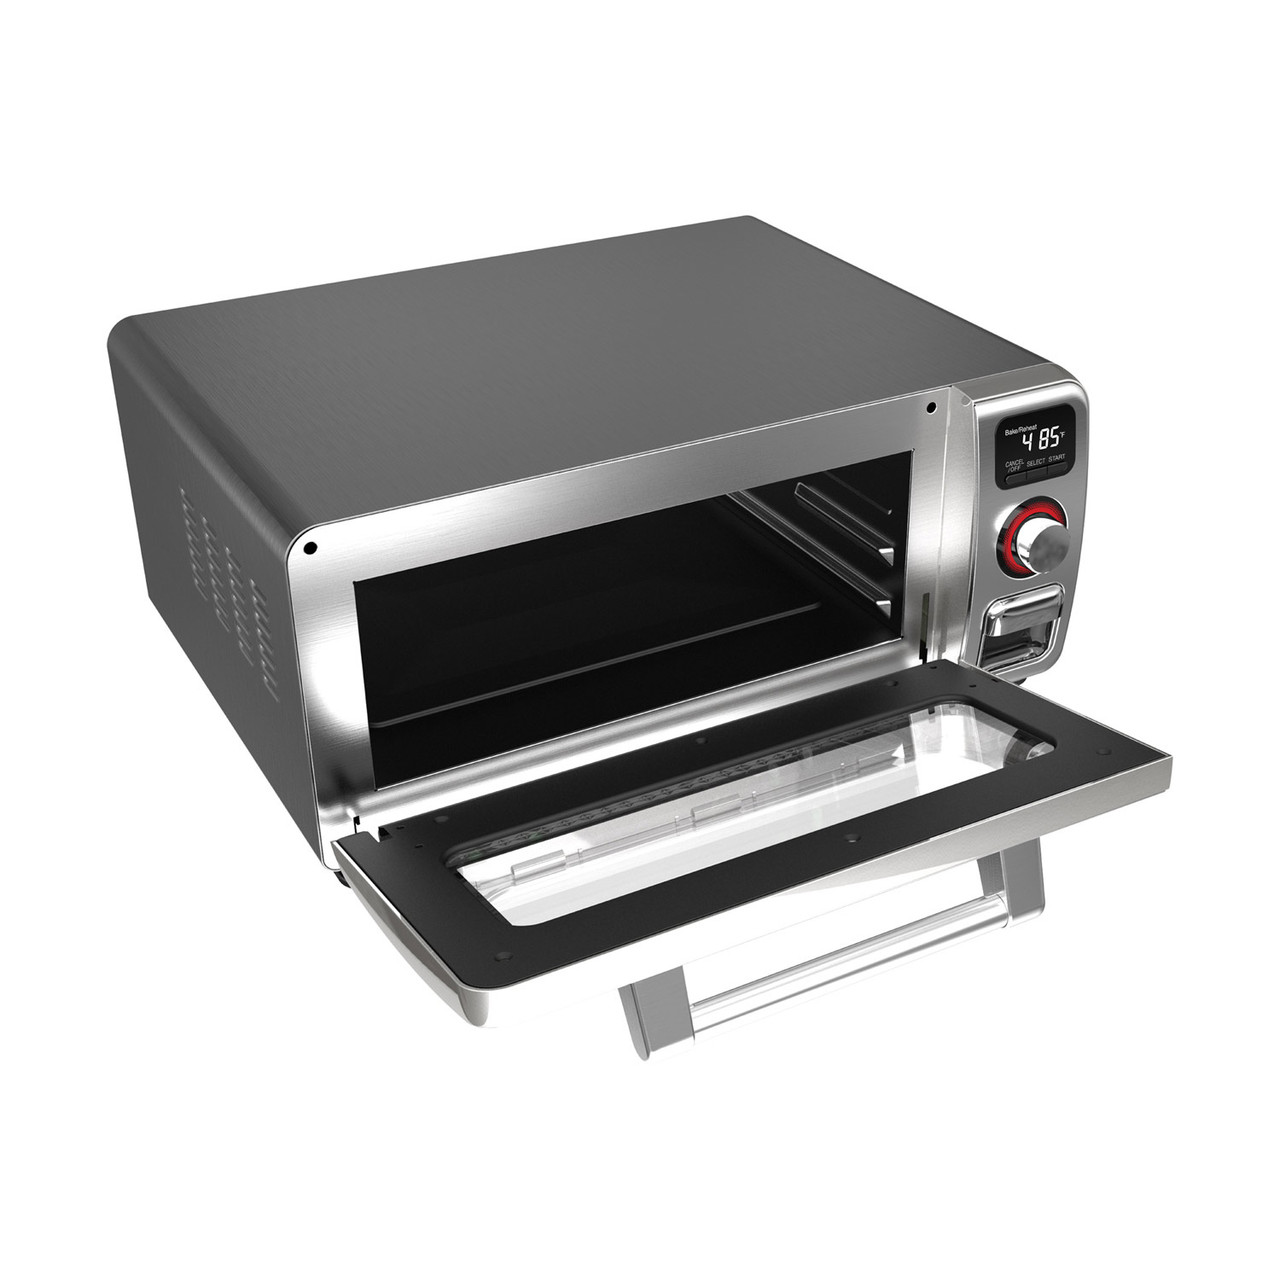
I know you are probably wondering, what makes our recipe so wonderful? Well, this tasty creation is gluten-free and can be prepared in a Sharp Superheated Steam Countertop Oven, so you can let it cook without having to use up any other oven space for your other dinner plans. Enough small talk, and let’s grab the essentials.
So grab your mask and your keys and head on over to your local grocery store to pick up an almond flour pie crust, two pounds of apple tart baking apples, three tablespoons muscovado sugar or honey (your choice), 3 tablespoons of arrowroot powder, a tablespoon of lemon juice and a teaspoon for cinnamon.
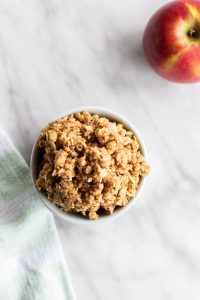
For the crumble topping (yummy!), we will need ¾ cup oats, 1/3 cup of walnuts, 2 tablespoons of butter (make sure it is chilled and cut into chunks), 2 tablespoons pf muscovado, and ½ teaspoon of cinnamon.
Ugh, enough waiting. Let’s begin!
- First, grab the almond flour pie crust and par-bake it at 350 ° Fahrenheit for about 10 minutes. This will serve as the basis for your new and tasty creation!
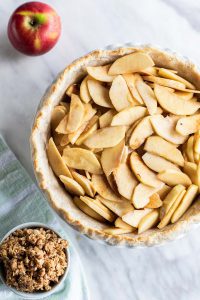
- Peel and slice each of the apples very thin. Prepare a bowl of water with lemon juice and place the sliced apples in the bowl. This will help with browning.
- After a few moments, drain the apples and mix the arrowroot muscovado and cinnamon in the bowl together. Add in one more tablespoon of lemon juice to help coat the apples.
- Let’s move on to the crumble topping. Please take all the ingredients needed for the topping and place them into a food processor or blender (either will work fine). Make sure to keep processing them until they come out, looking like large crumbs. Please don’t overdo it to make sure you still feel a bit of texture during each bite!
- Now add in the apples to the crust, keeping them towards the top, so they don’t go too deep when baked. Add the crumble topping to the top.
- Finally, open your oven and place a pie shield over the top. Bake it for about 50 minutes at 350 °
Frosted Pumpkin Bars

If you are always on the go and looking for an alternative to a candy bar but still crave something sweet, this recipe is for you. From the second I read the title of this recipe, I fell in love, and the more I dove into it, I felt obligated to share it with all of you. This awesome frosted pumpkin cranberry bar recipe from “Taste of Home” is one that will make you drop everything you are doing and head over to your kitchen.
These yummy and creamy bars can be made in great quantities, so if you have kids in the house that like to munch or indulge, I suggest making a few because they will go quickly (I speak from experience). Want to know a secret? I keep some by nightstand and munch on them at night…. Shhhh!
Let’s start at the grocery store, getting some important materials between the bars themselves and the delicious vanilla tasting frosting. We will need 1-1/2 cups all-purpose flour, 1-1/4 cups of sugar, 2 teaspoons of baking powder, and ground cinnamon. A teaspoon of ground ginger, a can of pumpkin, 3 large eggs (room temperature would be perfect), and ¾ cups of melted butter and chopped dried cranberries.
Now the fun part, the brown butter frosting. This, you may want to check your kitchen cabinets to see if you have some of these lying around. Grab ½ cup of butter, 4 cups of confectioners’ sugar, a teaspoon of vanilla extract (my absolute favorite), and about 4-6 tablespoons of whole milk.
- Let’s start! Grab a large bowl and place all the flour, sugar, baking powder, cinnamon, baking soda, and ginger in it to mix.
- Grab a second bowl and whisk the eggs, pumpkin, and butter. Combine them into the other bowl and mix it well. If you want a bit of extra taste, throw in some cranberries.
- Next, grease a baking pan (ideally 15 x 10 x 1) and spread the new mixture into it. Bake it for approximately 20-24 minutes at 350 °. If you want to test it, insert a toothpick in the middle, and if it comes out clean, it is ready for cooling on a wire rack.
- Now we are going to move onto the frosting. In a saucepan, over medium heat, cook the butter for approximately 5-7 minutes (it should be golden brown). Once melted and ready, pour into a bowl and beat in some sugar, vanilla, and milk confectioners. Spread them across the bars and well-ah! Cut them as you please and try not to eat too many!
Gluten-Free Mini Pecan Pumpkin Pies
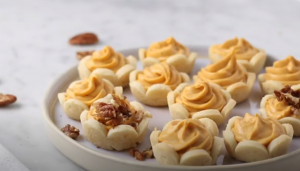
I know, I know. I already have recycled one in this recipe roundup before, but I am just OBSESSED with this next recipe from Simply Better Living. Last September, we partnered with Sunkissed Kitchen to showcase how simple it is to bake delicious fall treats in our Sharp Superheated Steam Countertop Oven.
This pumpkin-filled sweet treat is the perfect option for any occasion, and their servings are perfect for presentation and make sure each bite has the same delicious and admiring taste. I can guarantee that these little mousse-filled bites will be a fall favorite, and you will be baking them all season long.
If you are planning a dinner party with close family and friends or thinking about putting together a few gifts for your child’s teacher, these may be an affordable option and can be considered the gift that keeps giving.

To get started, we need to grab some of our essential ingredients, so go through your cabinets and safe place on your mask to head to the grocery store. We are going to need an almond flour pie crust, ½ cup of pumpkin puree, ½ cup of white chocolate chips, 4 ounces of cream cheese, ½ teaspoon of pumpkin pie spice, candied pecans, ½ cup of pecans, 2 tablespoons of coconut sugar, and 1 tablespoon of butter.
- Grab some parchment paper and roll create a thin layer (approximately 1/16 thick). Roll the almond flour pie crust and roll it out evenly to ensure that they all bake the same.
- Head on over to the fridge and stiffen the pie crust by freezing it for about 30 minutes.
- Once it’s very stuffed, use a 3-inch cookie cutter to divide your new little pies evenly. It is recommended that you use a flower cutter.
- Place each flower over a muffin tray and give them a few minutes to warm up. Once ready, gently use the edges to press them down into the baking tray, creating a cup-like shape. Be very gentle as you may break it if you push through the center.
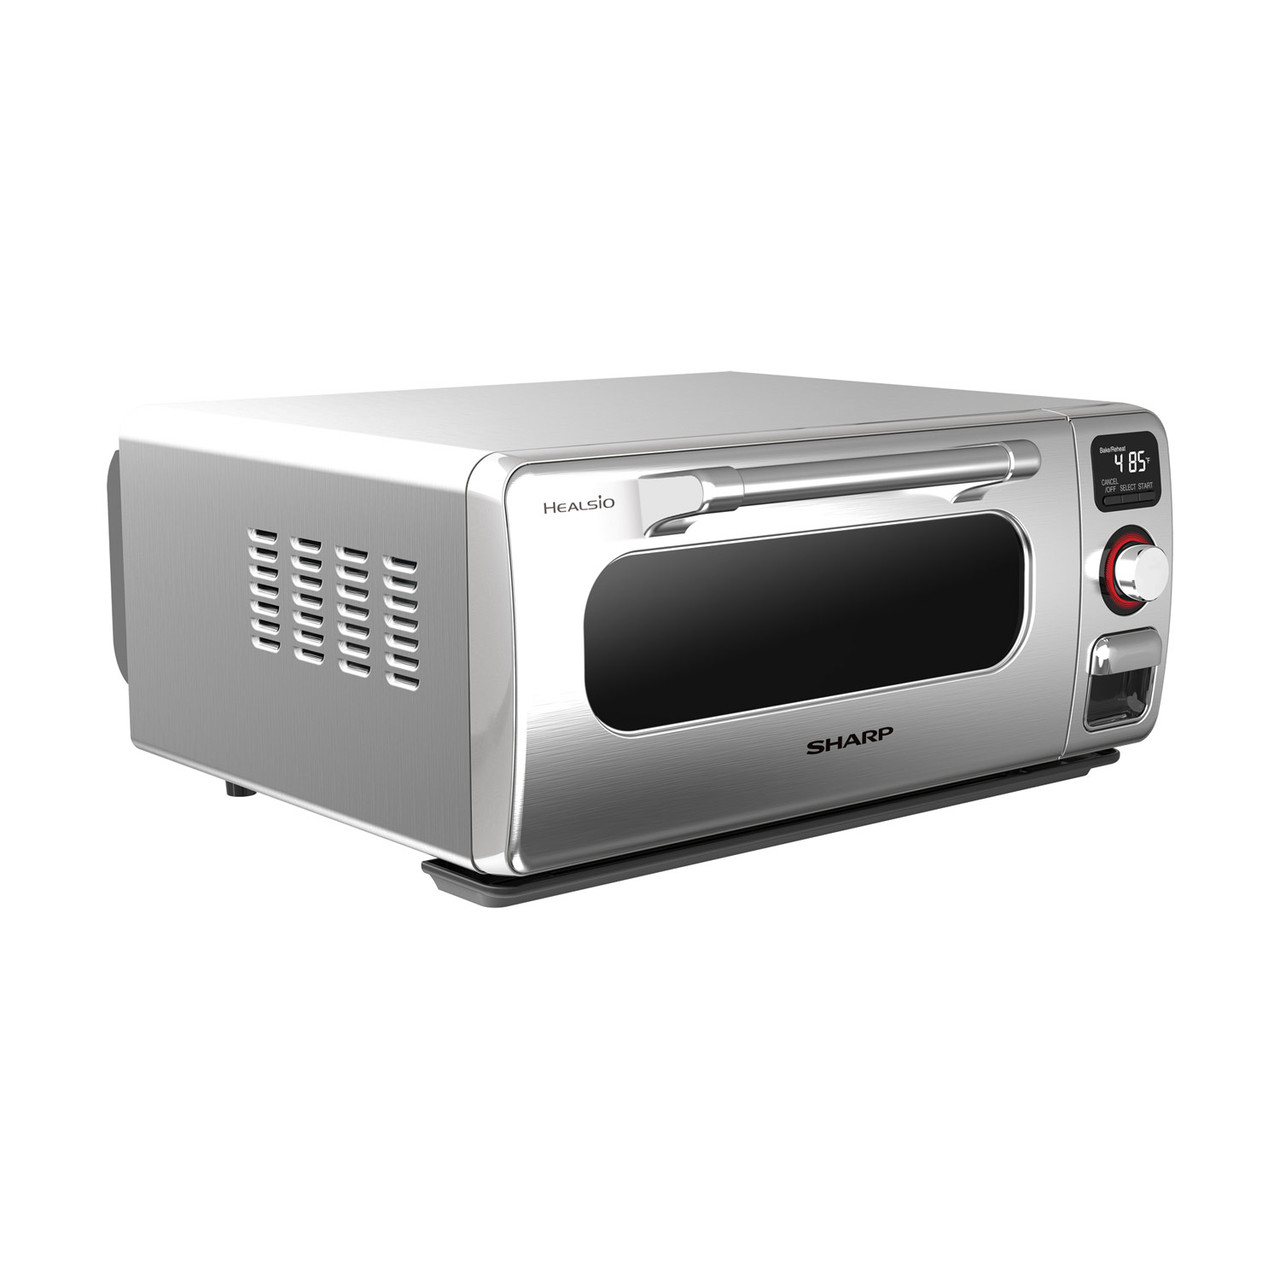
- Head on over to your Sharp Superheated Steam Countertop Oven and place in the baking tray with the mini pie crust, setting it on Bake/Reheat at 325º F for approximately 13 minutes. If you plan on using another oven, it is recommended to preheat the oven at 325º F and bake for about 17-19 minutes. A good indicator is to see the crust begin to brown.
Yay! Now the fun part! Follow these additional steps to make the pumpkin mousse.
- Grab a small dish and fill it with white chocolate and white chocolate chips and place it in the microwave. Take it out every 20-30 seconds at a time, making sure not to burn it.
- Add in the pumpkin, cream cheese, and pumpkin pie spice in a food processor and fully mix it. Drizzle it into the melted white chocolate and process the new mixture.
- Refrigerate the mousse until you are ready to use it.
- Finally, let’s decorate! Top off the pie crusts with the pumpkin mousse. The best practice would be to use a piping bag with a large tip. Yum, enjoy it!
Soft Pretzel Apple Pie
As soon as September hits, all we see or hear about are pumpkins. We see signs for pumpkin patches and various recipes, including pumpkin, throughout the internet and social media. Well, I have news for you. Not everyone likes pumpkin, and the reality is that it is okay. When writing up a fall dessert recipe roundup, I always try to be as inclusive as possible and include something that appeals to everyone. So, if pumpkin isn’t your cup of tea, let’s try something else.
One of my favorite snacks of all time is soft pretzels. Whether at a mall kiosk, during happy hour, or picking it up for a quick driving snack, it just always seems to hit the spot and make my stomach stop growling. So, when I found this next recipe, I bookmarked it and started typing right away.
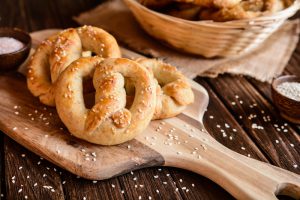
This fall, why not whip up this awesome soft pretzel apple pie recipe from “Passion for Savings.” I know what you may be thinking, pretzels and apple pie? How does that go together? I guarantee you will be wondering how you lived your life before this recipe the second you take a bite into the crust and taste the butter-filled masterpiece. (In case you can’t tell, I am so excited)
It will be your choice to figure out if this is a pie you will want to be serving during your next dinner party or just something nice and sweet to keep and take slices every few moments. Alright, enough small talk, and let’s jump right into it.
Mask up, grab the bags, and head on over to the grocery store to pick up a few crust and filling ingredients. Before heading on over, I highly recommend going through your cabinets and seeing if you have some lying around before filling up your cart. You would be surprised to find out what you may have back there.
You will need a cold stick of butter, 2 cups of flour, 2 tbsp of sugar, 3 tbsp cold milk, ½ tbsp cinnamon for the crust. For the filling, 2 sliced apples, 3 tbsp of melted butter, 2 tbsp of cinnamon, 1 tsp allspice, 1 tbsp of nutmeg, and 4 tbsp sugar.
- To get started, head on over to the oven and preheat it to 350 degrees.
- Grab a pie pan and spray it with non-stick cooking spray, and set it aside. We are going to use it in just a bit.
- Next, gather all the ingredients you will need for the crust (butter, flour, sugar, milk, and cinnamon). Use a food processor to mix them until you get a nice and thick dough-like texture.
- Once you have the ideal dough, grab the pie pan (told you it will be soon) and fit out the dough, creating a foundation and a crust for the pie. To avoid burning, it may be a good idea to cover up the edges with some foil.
- Place the pan and the dough into the oven until golden brown, about 20 minutes. Once done, take it out and let it cool for a bit, removing the foil.
- In a new bowl, mix the melted butter, cinnamon, allspice, nutmeg, and sugar.
- For a sweet and buttery taste, lather the crust with melted butter. (Yum!)
- After mixing the new bowl, place the apple slices in the baked pie crust and bake for an additional 5 minutes.
- Finally, please remove it from the oven and enjoy your new favorite dish.