For those of you that do not know, my home office is situated right next to a window that overlooks my backyard. At times, a lot of my writing styles and concepts are derived from the weather outside. For example, if it’s a sunny day, and the blow-up swans are floating by in the pool, I like to write about outdoor topics; however, right now it is raining calling for indoor activities.
Across the country, social distancing and staying at home are still encouraged, calling for millions to find new activities to participate in at home. Growing up at the Jersey Shore, a vast summertime tradition is to get ice cream at night on the boardwalk while watching the moon shine over the beach.
Since the whole world (work, movie theater, etc.) moved into the walls of our home, why can’t annual traditions and favorite activities be happening there as well? When scrolling through the internet, I see many interesting and engaging tips on how to make homemade ice cream.
So, let’s go through the steps, and tell us what you think on social media by using the #SharpHome on Instagram, Facebook, and Twitter.
Instructions

Making homemade ice cream is a fun family activity for all ages. Creating homemade ice cream and sharing laughs while doing it is a summer well spent. Ditch your typical ice cream parlor and prepare yourself because your kitchen island is about to become the best (and now most exclusive) ice cream shop in town.
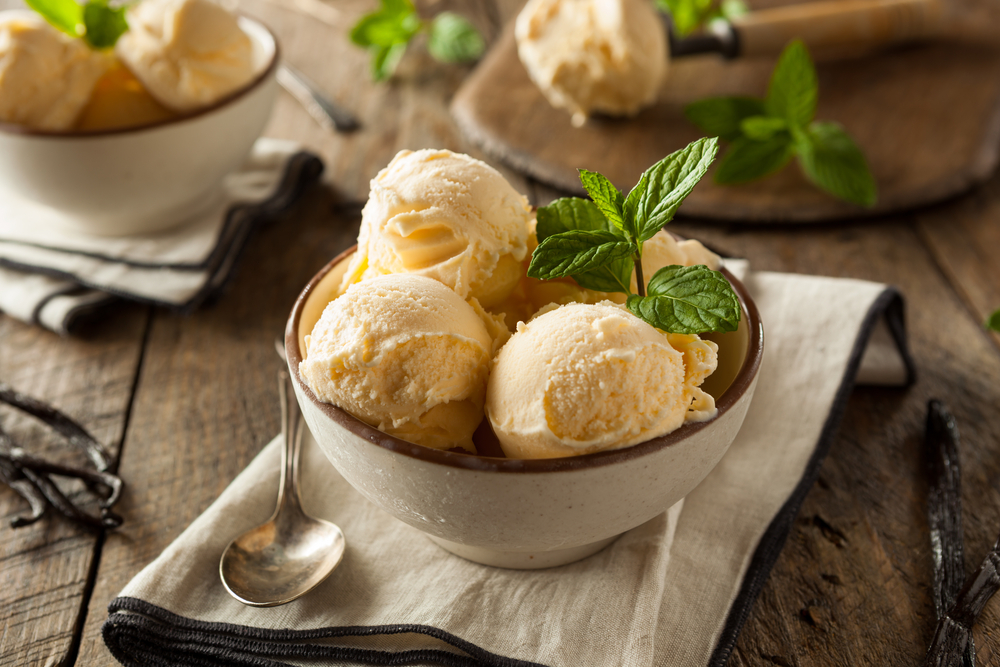
Blogger “A Family Feast“ shares many helpful tricks and tips for making traditional homemade ice cream. The recipe and essential ingredients follow a classic vanilla flavor and are suitable to fill a quart. Just enough to make your home movie night extra perfect or round off your family barbecue with a sweet treat.

During the homemade ice cream process, you may want to consider purchasing an ice cream maker or ask for one during your next occasion (they make the perfect birthday or holiday gift). You will find them easy to purchase online or at your local retailer.
It is essential to start with a traditional vanilla recipe so we can go through and focus on the process of making homemade ice cream. Let’s focus on the instruction and get started!

When I first heard of making homemade ice cream, my first thought was that it was going to be a messy process with a ton of materials and ingredients requiring a lot of skills and experience. After reading through countless blog posts, I realized the only ingredients you need are 4 egg yolks kept at room temperature, 3 cups of heavy cream, 1 cup of whole milk, ¾ cup of sugar, and 2 tablespoons of vanilla extract. Now that I think about it, these are common ingredients that I find in my kitchen. Anyway, let’s go to the steps.
- First, grab a medium bowl and place all the egg yolks in it. Whisk for a minute and set it aside. We will get to it in a bit.
- Take a heavy-bottomed saucepan and heat the milk, heavy cream, and sugar and stir it at a constant until the sugar dissolves. This process should take about 5 minutes, and it is recommended that you do not bring it to a simmer or boil.
- Next, measure about a cup of the mixture you have just created and slowly drizzle it into the bowl while constantly whisking it. The purpose of the slow drizzle is to prevent the eggs from cooking.
- Pour the rest of the now smooth mixture back into the saucepan with the rest of the cream mixture.
- Now that you have one mixture cook it over medium heat while stirring it constantly until it thickens. This is estimated to take about 5 minutes. Once it starts to coat the back of the spoon, you should be good to go.
- Go into your cabinets and grab a strainer, placing it over a bowl and pouring the pan in it. Consider using a large measuring cup to pour the mixture into as the pouring feature may be beneficial later. At this point, mix in the vanilla extract.
- Then, cover the bowl with plastic wrap with the wrap touching the top of the custard, avoiding skin form from forming. Refrigerate overnight.
- Finally, unbox and set up your new ice cream maker according to the product instructions and churn it. Once again, freeze for 4-5 hours before serving.

Salted Pretzel Ice Cream with Chocolate and Peanut Butter
Now that we have gone through the steps, I fully understand that traditional vanilla ice cream may not be everyone’s go-to flavor. (Yes, you can disagree with me). Anyway, I figured that now you are all experts in ice cream making, why not keep the excitement going by showing you a few quick and additional tips to satisfy your taste buds.
From a young age, I was always told never to judge a book by its cover and do not form opinions of things by the way they look on the outside. I happen to be a bit (well, very) guilty because when I saw this next recipe, that is precisely what I did. I would assume that you would do the same.

This creation from “Cake Over Steak,” calling for a salted pretzel ice cream with chocolate and peanut butter, includes some of my all-time favorite ingredients as well as one of my favorite snacks.
In a time where there is minimal certainty and a lot of summer activities plans have been altered, finding a unique creation like this will bring excitement to everyone around. That is only if you plan on sharing!
Use the initial steps of instructions as a base and gather all the materials. Also, you will need 30 small pretzels (and if you plan on snacking on them while making it, make sure to grab more), 1 ¾ cups of milk, 3.25 oz. of finely chopped dark chocolate, and a ½ cup of peanut butter.
Some additional steps include:
- Before anything, the first step is to create pretzel milk. Mix the milk and the pretzels into a large bowl coating and soaking every pretzel with milk. Cover it with plastic and refrigerate for about an hour and a half. Once you are done, set the pretzels through the strainer. Keep the bowl of the now “pretzel milk” and discard the pretzels (or eat them!).
- Grab a large bowl and add ice cubes, with a bit of cold water running through them. Place a smaller bowl inside the large bowl with a strainer over it.
- Whisk the egg yolk and sugar in a medium bowl until it appears to be a pale-yellow color and smooth. In a saucepan, place the pretzel milk on the stove and turn it to medium. Stir at a constant until the milk is hot (110 degrees to be exact).
- Begin whisking add ¼ cup of milk to the egg yolk and sugar bowl. Once completed, combine the two into the saucepan switching the cooking temperature to medium-low. Stir until it thickens.
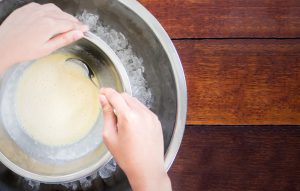
- Once it has thickened, pour your new custard creation into the ice bowl, also called an ice bath, and stir it until it becomes room temperature. Wrap it up and refrigerate for about 4-5 hours.
- If you have an ice cream maker or a mixer, grab it and pour the refrigerated ice cream into the bowl. Churn it for approximately 15-20 minutes. Once the ice cream starts to pull away from the sides, that should be a good indicator that it is good.
- Finally, transfer the churned ice cream into a freezer-safe container. Warm peanut butter over low heat in a saucepan until it becomes liquid. Drizzle it over the ice cream and sprinkle the chopped-up chocolate throughout the ice cream.
Red Velvet Ice Cream with Marshmallow Swirl
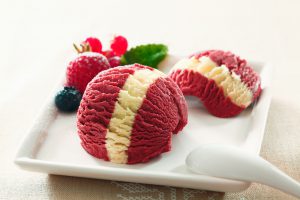
If someone were to ask me what my favorite part about dinner was, my answer would be simple. Dessert. The sweet and tasty treats to top off the perfect meal always puts a smile on my face and allows me to leave the table in a good mood. You know when you go to a concert, and they save the best songs for last? Well, in terms of a family dinner, the same concept is applied to me.
Since I was young, I was always a fan of vanilla. While I must say that it is still my number one and go-to flavor, my life hasn’t been the same since I tried red velvet. This unique and buttery taste may be new in my life but is here to stay and will most likely become part of yours too!

As a true New Jersey resident all my life, I live and breathe the state. We have over 100 miles of coastline and beachfront communities. These serve as hot spots for people from throughout the state to rent large homes and hotel rooms to spend a few days relaxing under the sun.
Every summer, my family from throughout the state get a place and explore what the town has to offer. One night two years ago, my aunt forced me to try red velvet ice cream. Let’s just say I went back for seconds (and thirds, fourths, okay you get the point!)

This red velvet ice cream with marshmallow swirl from “Tate & Tell“ has been dubbed as “super easy and perfect.” This recipe is pretty simple and requires only 10 minutes of prep time. I can picture myself getting up in the middle of the night with a spoon to grab a bite. Take your phone or laptop and head over to the kitchen to gather everything.
We are going to need 18 oz. package of softened cream cheese, a ¾ cup of milk, ¾ cup of heavy cream, and ¾ cup of sugar. You will also need to grab a ½ cup of buttermilk, 2 teaspoons of cocoa powder, 1/8 teaspoon of salt, ½ cup of marshmallow ice cream topping, and a tablespoon plus a teaspoon of red food coloring.
Let’s get started!
- Grab a blender or an ice cream maker and put the cream cheese, milk, cream, sugar, buttermilk, food coloring, cocoa powder, and salt. Process it until it is smooth.
- Next, cover and chill it with plastic wrap it for at least 2 hours. If possible, freezing overnight is ideal.
- Transfer the ice cream into a freezer-safe container, followed by the spreading of the marshmallow topping. Make sure to get every bit!
- Finally, freeze it once again until it is hardened overnight. Grab a spoon, or a few if you plan on sharing and enjoy!

