As soon as October rolls around, you see pumpkin-shaped figures all over the place, seriously everywhere! From the entrance to the grocery store to the doorsteps of your neighbor’s home, it’s no secret that the pumpkin is the perfect representation of the season, serving as a mascot for fall.
Some of my fondest memories of fall come from going to the pumpkin patch with my siblings, where we would each go and pick our favorite pumpkins (yes, I was the kid who always would pick the smallest ones because I felt bad they never got picked.) After our time at the farm, we would go on home to put on dirty clothes and grab carving utensils to create our favorite designs adding personality to the pumpkin-tuned Jack-O-Lantern.
After realizing that while this process is fun and practiced by many families, not many choose to save the pumpkins and throw out what there is. Well, you’re in for a special treat. Literally! Instead of just throwing the insides of the pumpkin away, save them.
Over the past few weeks, I have found the best and most unique recipes containing pumpkins on social media and throughout the web. There is no better time than ever to share these delicious and sweet recipes with you. As tempting as it may be, I ask that you read all the recipes even though these amazing creations may drive you to put down your tablet and head to the kitchen.
If you like what you see or have a specific pumpkin recipe you absolutely love, feel free to share with us on social using #SharpHome on Instagram, Facebook, and Twitter.
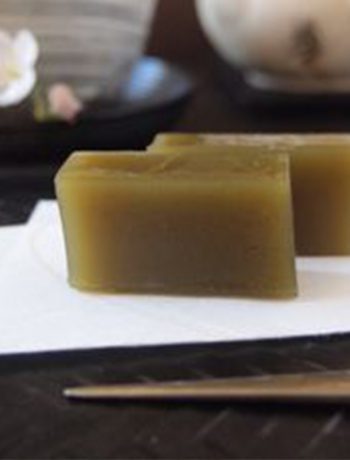
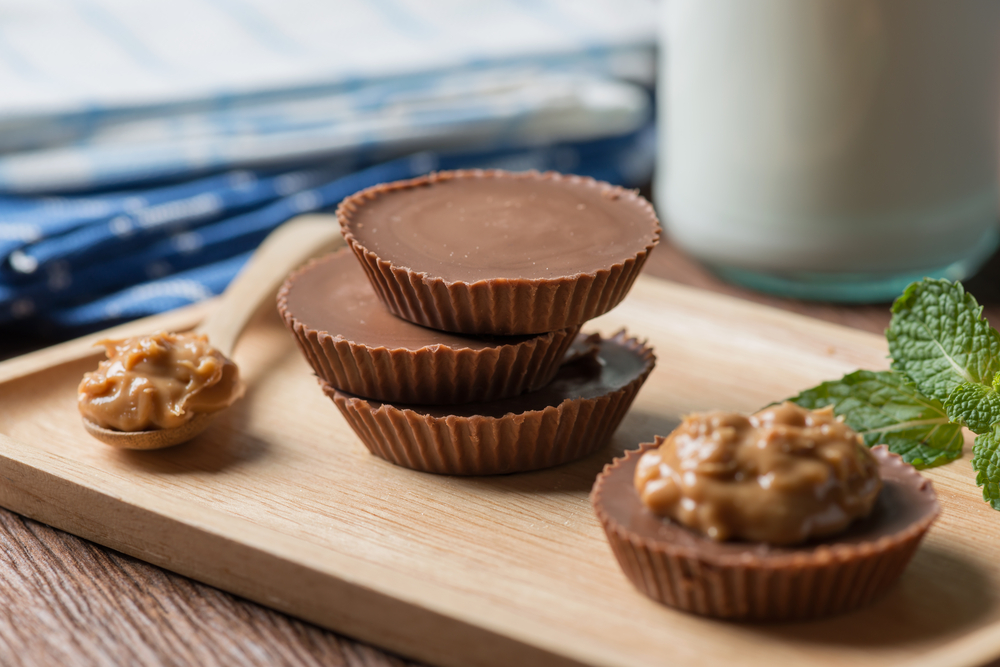
Pumpkin Peanut Butter Cups
I like to consider myself to be a very festive person. I know I have said it before, but living in New Jersey, a huge benefit is the climate where we have four traditional seasons. Yes, that means we have 95-degree beach days, and six months later, we can have a snowstorm. New seasons gives you the chance to update every three months, including your daily routine, wardrobe, and if you’re like me, your recipes.
If you know me or have read some of my prior recipe roundups, you would know that I live, breathe, and love peanut butter cups. In fact, I buy them wholesale as they are my guilty pleasure. However, I will be the first one to admit that when it becomes mid-October, I get kind of sick of them as they are in every doctor’s office and grocery store aisle.
So, what would you say if you saw the perfect creation that adds a bit of season spice to one of your all-time favorite treats? One word, sold! While scrolling through social media one morning, I came across an amazing sweet snack from “Food with Feeling” calling for a pumpkin peanut butter cup recipe.
Instead of going out and buying candies from the store and eating the whole bag in a day, grab the kids or go solo in creating your own. Go to the store and peak in your cabinets, and pick up some of the essential ingredients.
First, get about 7 oz of chocolate (dark chocolate is recommended, but I am a fan of milk chocolate) and 2 teaspoons of coconut oil. You will also need 1/3 cups of peanut butter, 1/3 cup of pumpkin puree, and a 1/2 teaspoon of pumpkin pie spice. Lastly, grab 2 tablespoons of your favorite liquid sweetener. This could include honey, maple syrup, or more. Happy baking!
- Grab a muffin tray with nine muffin spots and line them up. Once done, set it aside as we will use it in a bit.
- Take a small bowl out of your cabinet and place half of the chocolate and half of the coconut oil to melt it. Please place it in your Sharp Microwave Drawer for about 20-30 seconds and mix it in between until fully melted.
- Once melted, grab the muffin liner and pour about 1/2 tablespoon into each. Press the chocolate up the sides 1/4 of the way and place it in the fridge. This should create a cup-like shape.
- Next, grab another bowl and stir the maple syrup, peanut butter, and pumpkin pie spice. Mix them and divide them into the nine muffin spots, so it is smooth along the top, making sure each bite is just as good.
- Repeat step 2 using the remainder of the chocolate and coconut oil, melting them into a bowl. Use a spoon to top off each peanut butter cup making sure that the pumpkin peanut butter is on the inside. About a 1/2 tablespoon will do the job. Feel free to top it off with sea salt for some extra taste.
- Finally, place the tasty creations in the fridge for about 30 minutes to become a bit harder.
Gluten-Free Mini Pecan Pumpkin Mousse Tarts
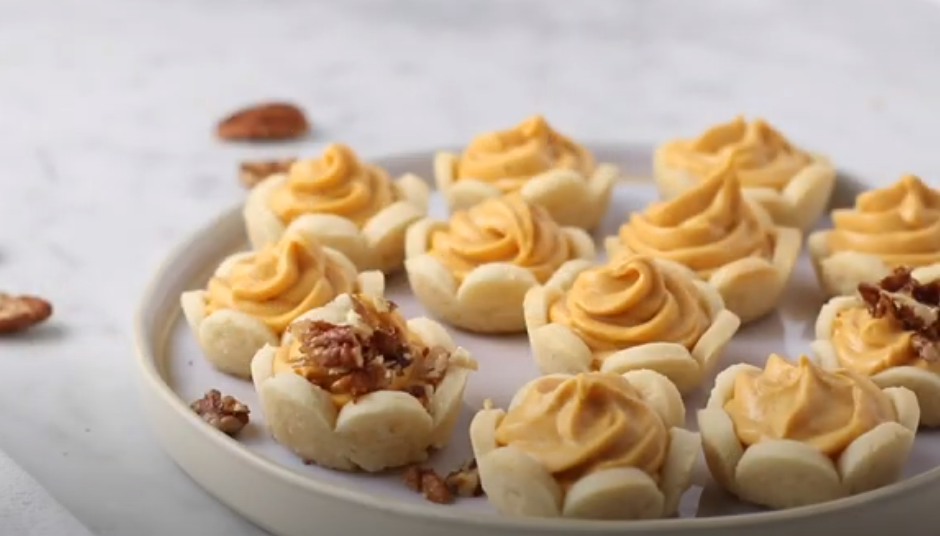
For many years, Simply Better Living has been offering a wide variety of a bunch of different and creative recipes for our favorite readers. Last September, we partnered we teamed up with Sunkissed Kitchen to showcase how simple it is to bake delicious fall treats in our Sharp Superheated Steam Countertop Oven.
Think about it, it is a beautiful fall day, and you have your flannel on enjoying the outdoor weather with close family and friends close by. Our pumpkin gluten-free mini pecan pumpkin pies are definitely going to be one of the favorites. The ideal serving sizes are perfect as each bite is filled just right, and the presentation is near perfect. Just make sure that you contain yourself and eat just one, not the whole batch.
Once you try it and are absolutely in love, feel free to bake a few for some of your neighbors and close friends and family. Putting them on a nice plate will really make it the perfect gift for others, as it will serve as a kind gesture and bring everyone closer this fall season.
To get started, we need to grab some of our essential ingredients, so go through your cabinets and safe place on your mask to head to the grocery store. We are going to need an almond flour pie crust, ½ cup of pumpkin puree, ½ cup of white chocolate chips, 4 ounces of cream cheese, ½ teaspoon of pumpkin pie spice, candied pecans, ½ cup of pecans, 2 tablespoons of coconut sugar, and 1 tablespoon of butter.
- Grab some parchment paper and roll create a thin layer (approximately 1/16 thick). Roll the almond flour pie crust and roll it out evenly to ensure that they all bake the same.
- Head on over to the fridge and stiffen the pie crust by freezing it for about 30 minutes.
- Once it’s very stuff, use a 3-inch cookie cutter to divide your new little pies evenly. It is recommended that you use a flower cutter.
- Place each flower over a muffin tray and give them a few minutes to warm up. Once ready, gently use the edges to press them down into the baking tray, creating a cup-like shape. Be very gentle as you may break it if you push through the center.
- Head on over to your Sharp Superheated Steam Countertop Oven and place in the baking tray with the mini pie crust, setting it on Bake/Reheat at 325º F for approximately 13 minutes. If you plan on using another oven, it is recommended to preheat the oven at 325º F and bake for about 17-19 minutes. A good indicator is to see the crust begin to brown.
We are still going! Follow these additional steps to make the pumpkin mousse.
- Grab a small dish and fill it with white chocolate and white chocolate chips and place it in the microwave. Take it out every 20-30 seconds at a time, making sure not to burn it.
- Add in the pumpkin, cream cheese, and pumpkin pie spice in a food processor and fully mix it. Drizzle it into the melted white chocolate and process the new mixture.
- Refrigerate the mousse until you are ready to use it.
- Finally, let’s decorate! Top off the pie crusts with the pumpkin mousse. The best practice would be to use a piping bag with a large tip. Yum, enjoy it!
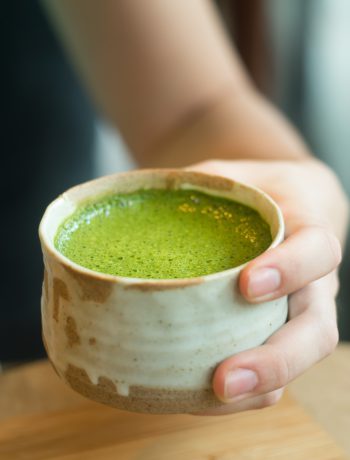
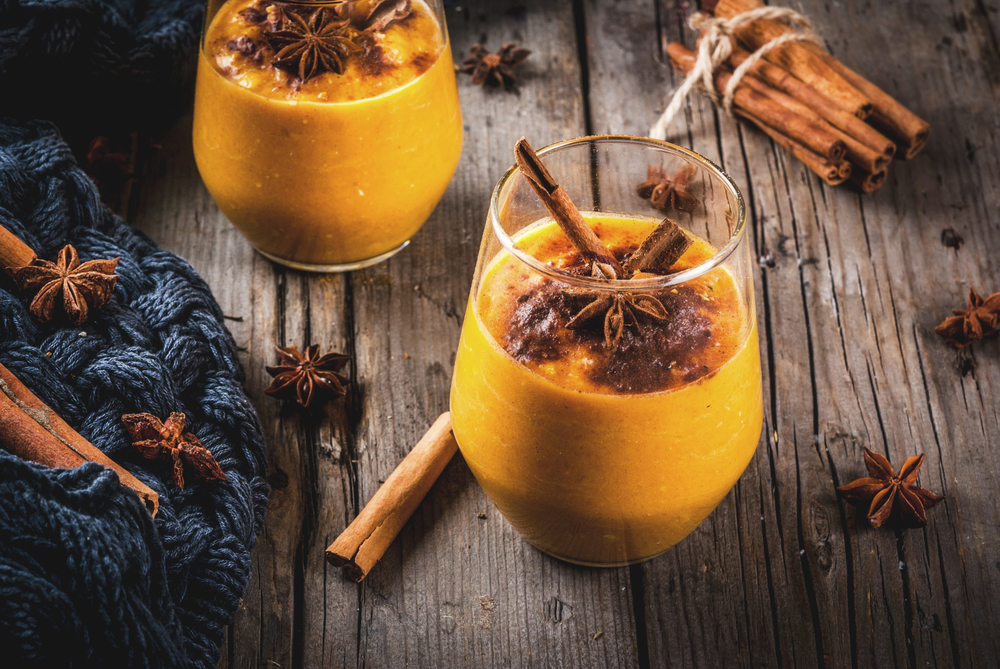
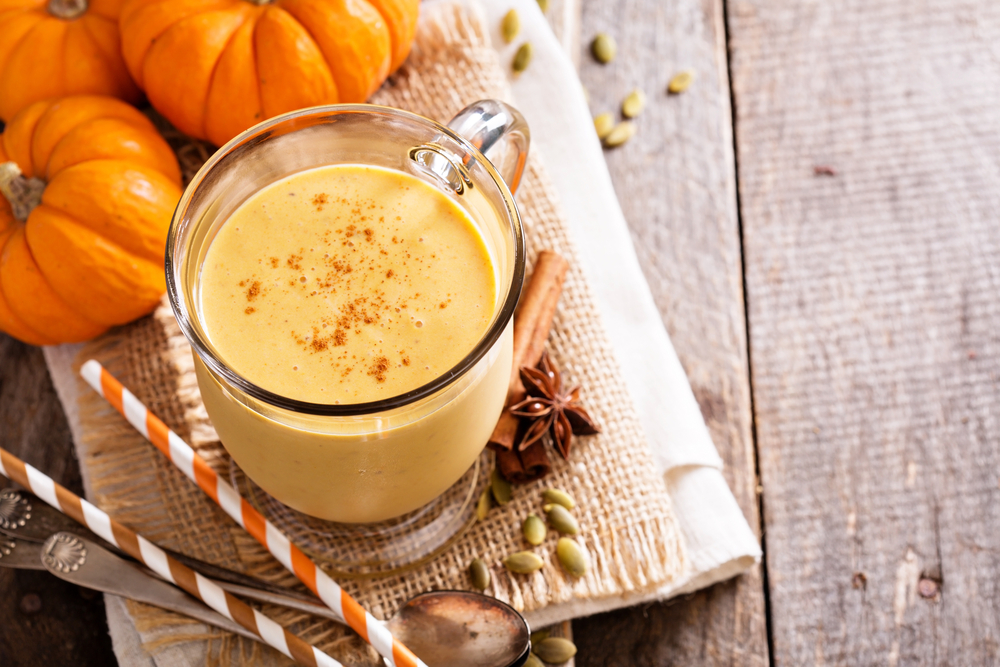
Pumpkin Smoothie
The weather in the Fall is beautiful outside! It doesn’t matter if you are in the southern part of the country with the sun shining or up in the Northeast with a beautiful fall breeze. In fact, I am writing right next to an open window and am admiring the seasons changing as we speak. Being trapped in the house for a little bit surely allows you to appreciate any change. Things as little as walking through the neighborhood and admiring all the fall decorations are enjoyable in my free time.
When I think of recipes, I typically think of a process that takes up using many utensils and preheating the oven, the whole nine yards. Looking at this amazing pumpkin smoothie recipe from “The Worktop,” this is the perfect creation for any time of day and takes very little to put together.
Want to know another fun thing about this recipe and the pumpkin smoothie concept? You can have your whole family involved and make the for all. No need for your partner or friend to beg for a sip, but since the process is so simple, it does not really take up too much time to create more than one. Just be careful; you won’t want to make them for the whole neighborhood (even though they may ask).
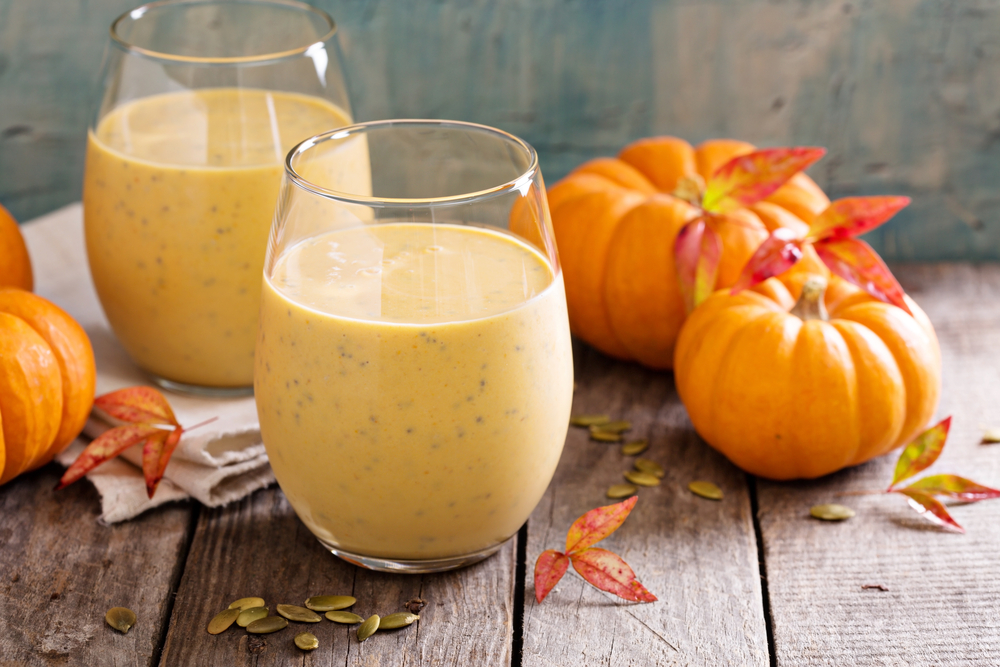
You will need a few ingredients for this one, but you may have some around your house and lying around in the kitchen. Before masking up and heading to the market, look for a large banana (two small ones should work fine as well), a cup of pumpkin puree, 1/2 cup of vanilla yogurt, ½ cup of milk, 1-2 teaspoons of maple syrup (if you are planning to use this for breakfast or in the morning, 1 is fine). Also, be sure to grab a 1/2 teaspoon of pumpkin spice and 1/2 cup of crushed ice. To really make it fancy, it may be a great idea to add some whipped cream to the top and dust it with a bit of cinnamon! The next part is easy.
- Just one step, use a blender to mix and blend it all together until it is smooth and in liquid form. Once set, transfer it into a cup. Enjoy!
Simple enough, right? Make sure to let us know how you like it!
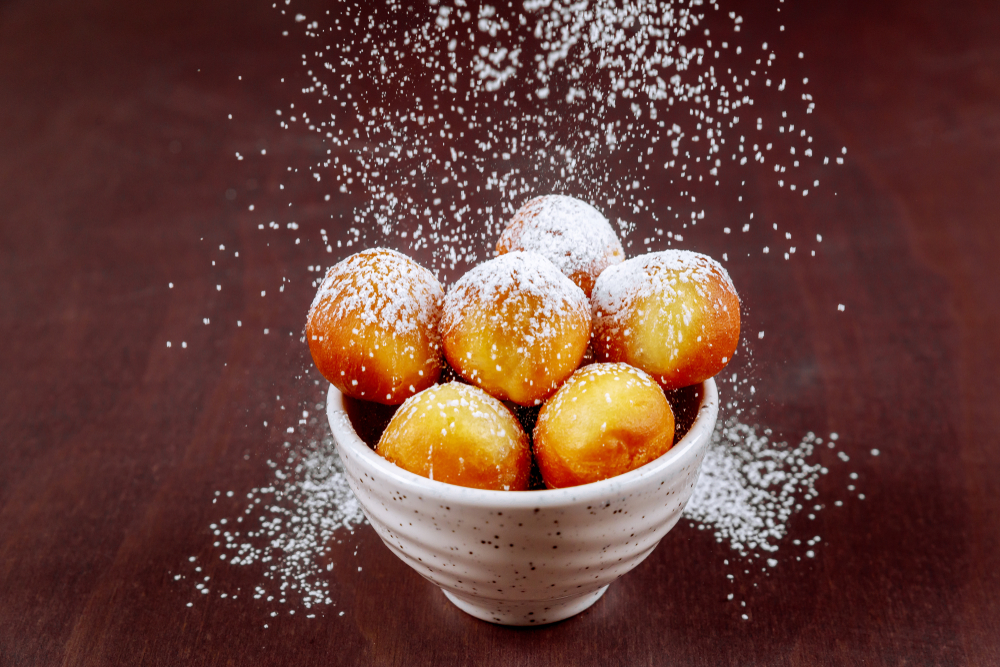
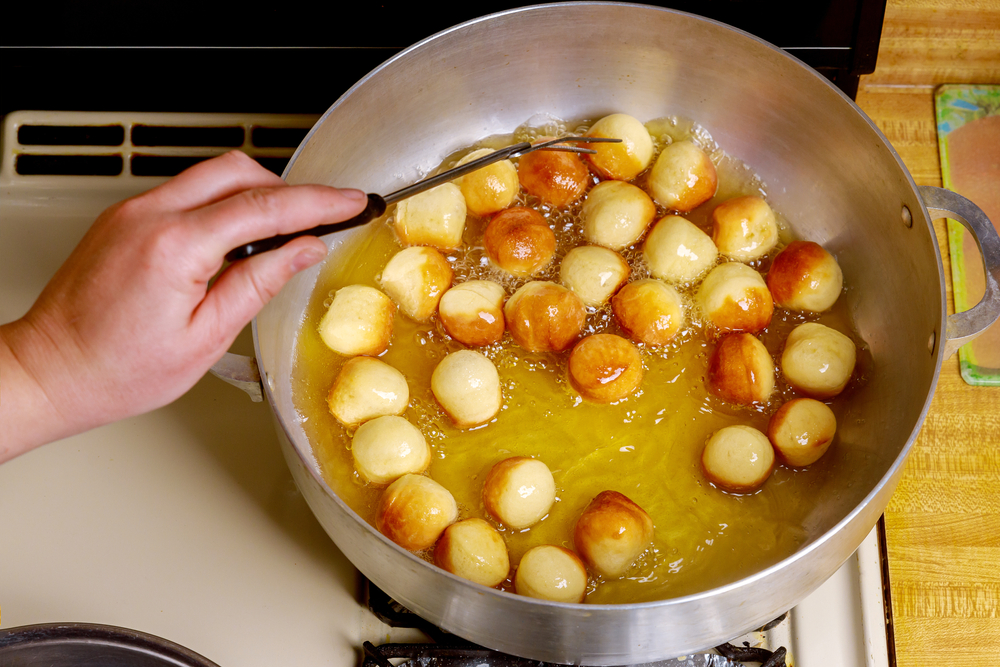
Doughnut Drops
Ever since I was little, I could always recall begging my parents to stop in the drive-through of the quick-serve doughnut shop to pick up a cup, or a box, full of my favorite road-time snack. Whether it be on my way home from elementary school, little league, or now my career, it is that the obsession has never ended if one thing is true.
If you have guessed it already, I am talking about pumpkin doughnut. These are tiny ball-shaped doughnuts that can fit in the palm of your hand and are perfect for almost any situation. I always enjoyed them because if I am watching my diet (which I should be), they are the perfect serving size for just one. However, if I do want to indulge, but I am in the car, and on the go, they are mess-free and easy to eat.
Another great reason to make this recipe is that they are great to bring on a family road trip. I know that times are a bit distant right now, so a popular pastime is heading in the car and going on a drive with your household to get out of the house for a few hours. Look at the leaves changing in the mountains or overlooking the nearest skyline of a city, tying in a bit of fall. There is no doubt that “Taste of Home” really knocked it out of the park with this one. So enough beating around the bush, let’s grab what we need!
You will need quite a few ingredients, but it is perfect for getting the kids and involving and having them help you. First, go through your cabinets and run to the grocery store with your mask to grab 2 large eggs, 2 tablespoons shortening, 1 1/4 cups of sugar, a cup of pumpkin, 2 teaspoons of white vinegar, and a teaspoon of vanilla extract.
Most of these you probably have in your kitchen, so we are also going to need 3 cups of all-purpose flour, 1/2 cup nonfat dry milk powder, 3 teaspoons of baking powder, and 1/2 teaspoons of salt, ground cinnamon, and ground nutmeg. Finally, pick up a 1/2 cup of lemon-lime soda and deep-frying oil.
- Grab a large bowl and set your ingredients across the counter. Beat the eggs, shortening, and sugar, blending them. Follow the same practice in the same bowl for the pumpkin, vinegar, and vanilla.
- Next, grab a separate bowl and pour in the flour, milk powder, baking powder, salt, and spices. Whisk them together very well, so every bite tastes the same. Add the two mixture together, beating them in between.
- Head on over to your deep-fat fryer or deep cast-iron skillet and heat the oil to 375°. A bit at a time, drop teaspoons of the newly created batter into the oil, frying it until golden brown. This should take about 1 minute per side.
- Once ready, drain them using a paper towel. If you are craving a sugar rush, be adding additional sugar when they are warm may not be a bad idea.
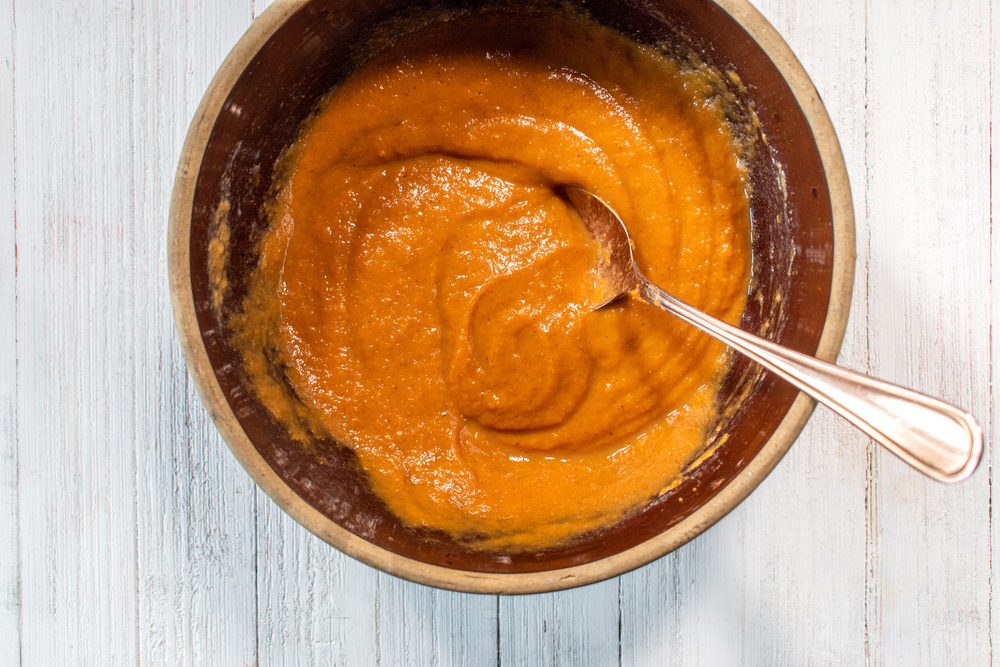
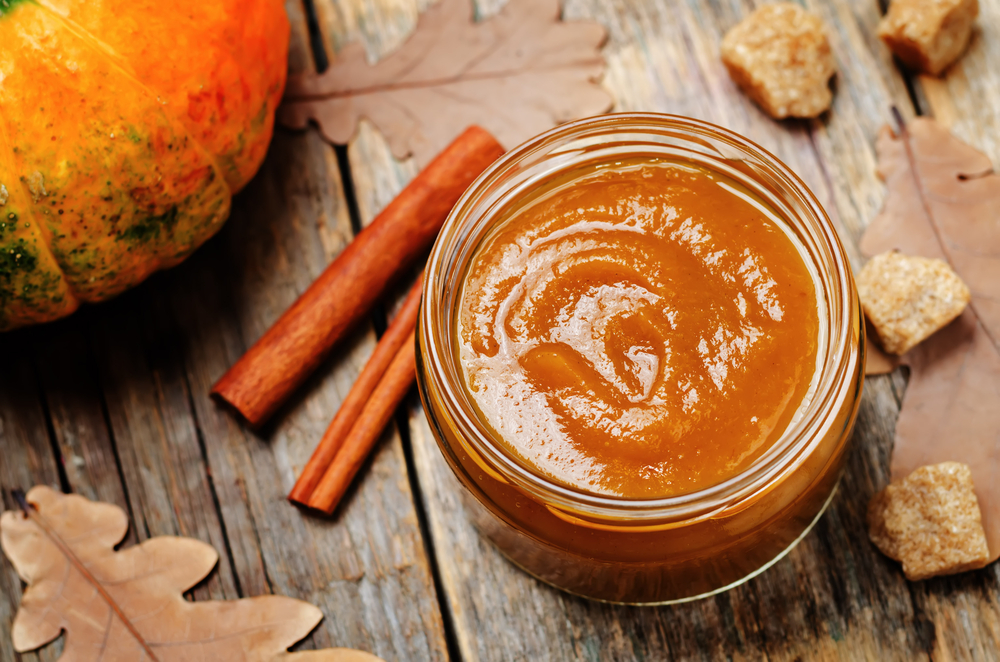
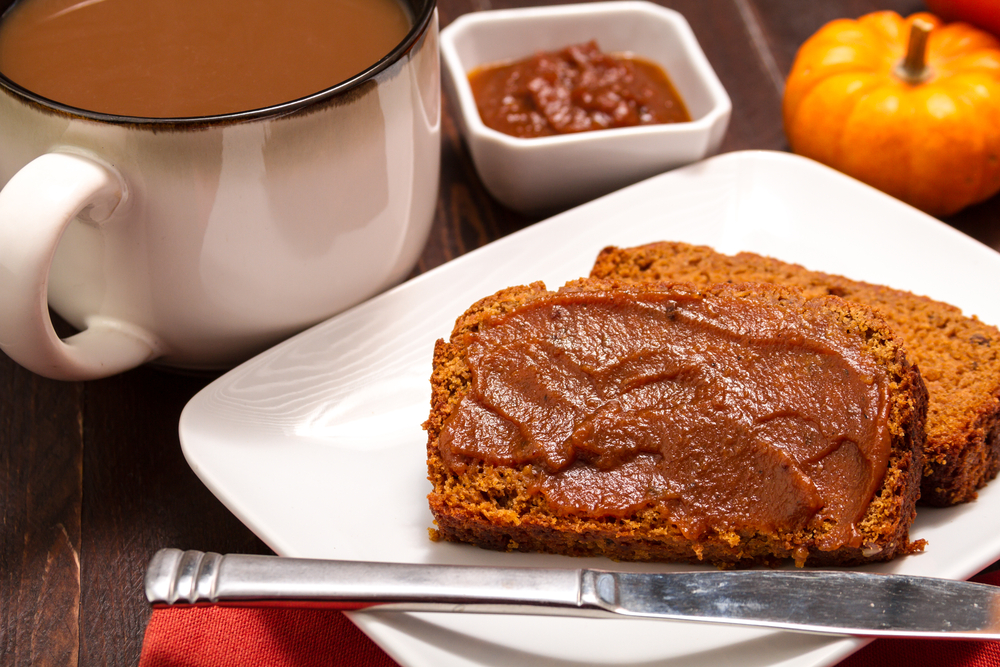
Pumpkin Butter
You all know how much I dislike the idea of saying, “save the best for last.” I rarely use this, so you may want to listen up when I say it. For the final pumpkin recipe in our roundup, I chose to do something different, letting you have a bit more say in what you cook, bake, or create.
Right now, I am calling all pumpkin lovers. What better way to add in the taste of pumpkin to every bite, as much or as little as you want, than to put it on yourself? Say it with me, Pumpkin Butter! This low-calorie pumpkin butter recipe design from “Skinny Taste”. This could be the perfect supplement to spread on a piece of toast or a waffle, even a sandwich in the morning or at night.
If you live in a full household, especially with young children, I can confidently say and guarantee that you have dealt with picky eaters, and dinner can easily become a buffet. Yes, I can understand first hand that introducing news foods and ingredients to children can sometimes be challenging (and at times may even bring tears). Adding a bit of pumpkin butter to some of their favorite snacks is a great way to transition and introduce them to loving the fall favorite easily!
So, when they ask you what that amazing taste is in their food, remind them it’s the same thing as an inside of a pumpkin they carved. They will look forward to it each year. Alright, enough talk, and let’s get what we need.
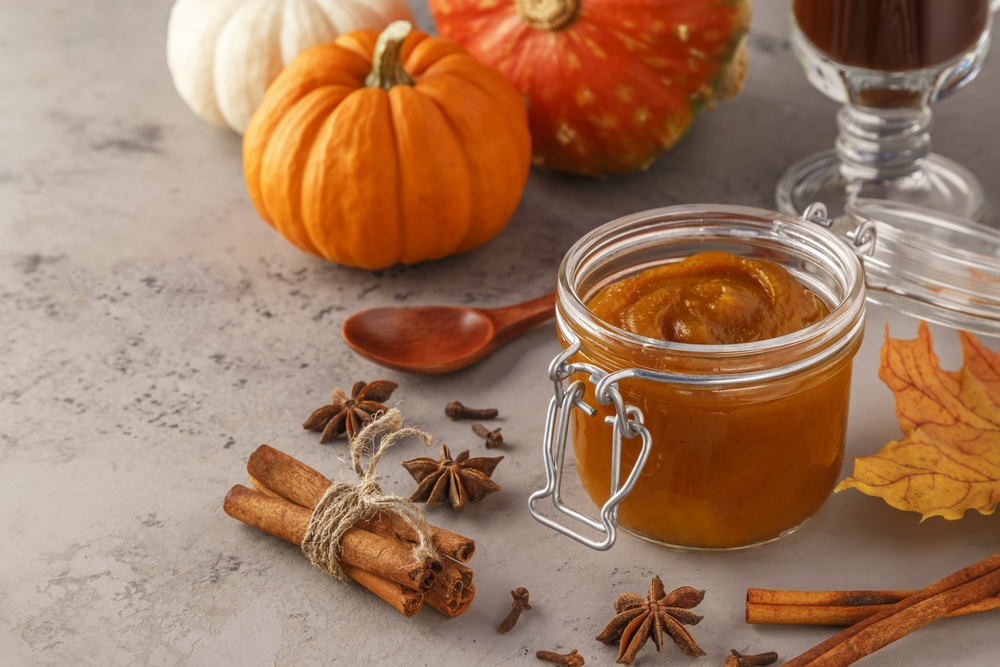
To start, let’s make sure we grab 3 1/2 cups of homemade pumpkin puree, a cup of packed brown sugar, ¾ cup of apple cider (if you have apple juice, that should work fine too), 2 tsp of vanilla extract, 2-3 cinnamon sticks, and 1-2 tsp of pumpkin pie spice to add a bit more taste. The steps are quite simple.
- First, grab the pumpkin puree, apple liquid, your spices, sugar, vanilla, and cinnamon sticks. Place and combine them in a saucepan and stir it, really mixing it.
- Next, head on over to the stove and bring your new mixture to a boil. Once ready, reduce the heat and let it simmer for approximately 30-40 minutes while mixing often. Once it looks thickened, you should be good to go.
- Finally, add some spice to creating a bit of extra taste and enjoy spreading it on an array of your favorite foods.